
| User Roles |  Admin |  Staff contributor | ✗ External contributor | ✗ Pulse user |
This article explains how to connect Silverfin with QuickBooks in an existing client file. Once the connection is established, any changes made in QuickBooks will automatically sync with Silverfin.
To establish a connection with QuickBooks in an existing client file, follow the steps below:
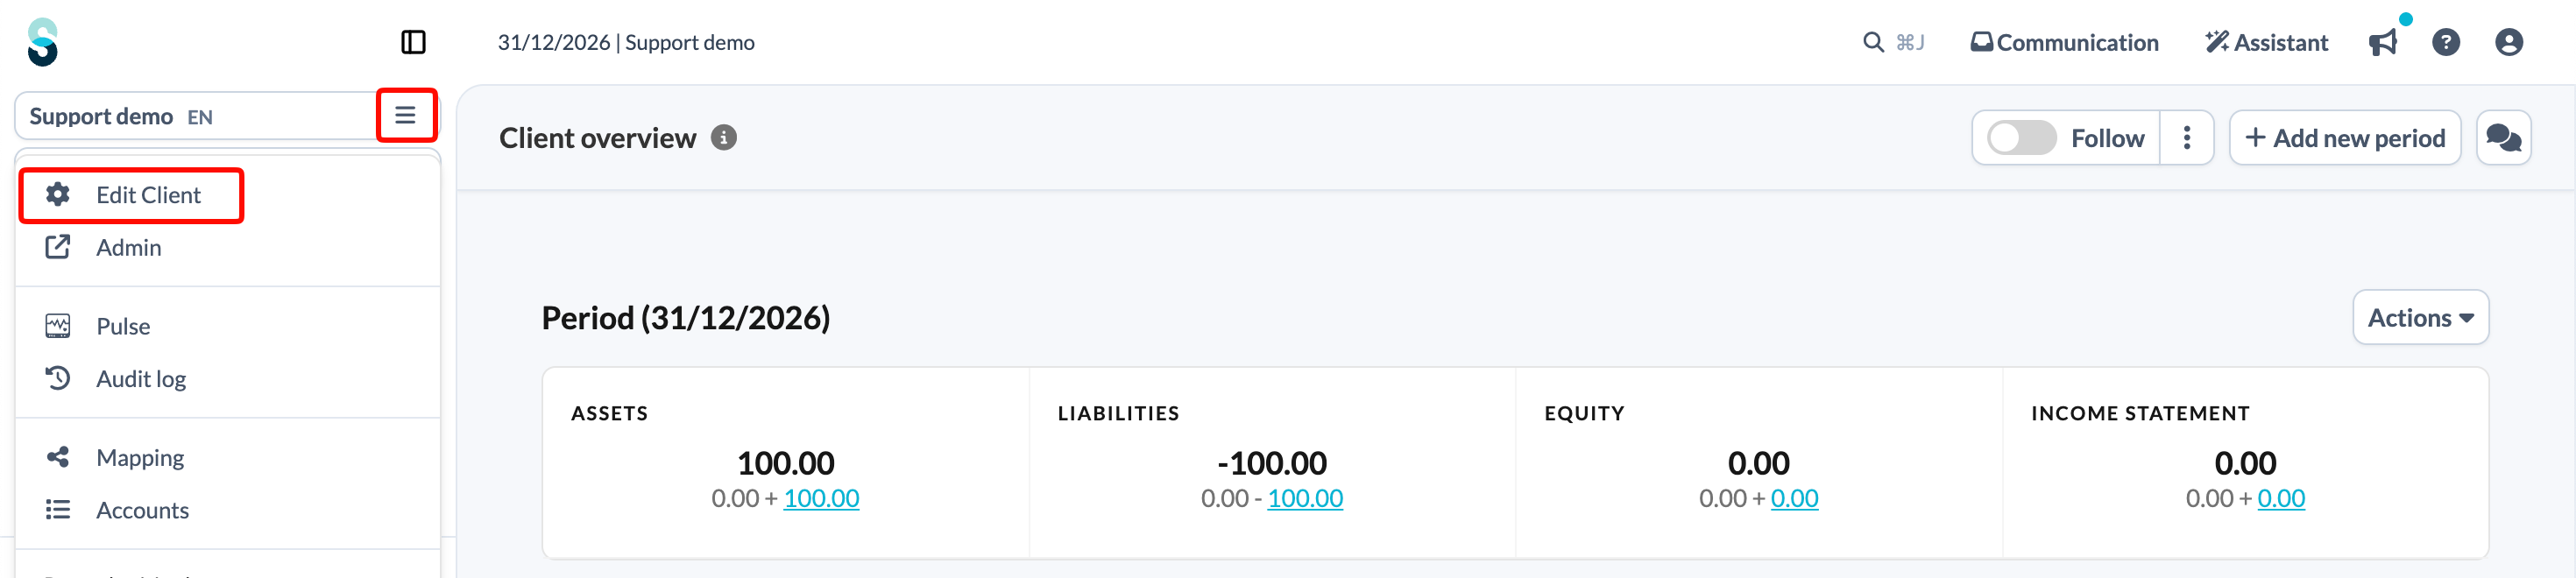
- On the client file overview page, click the client file name at the top of the left panel and choose Edit Client.
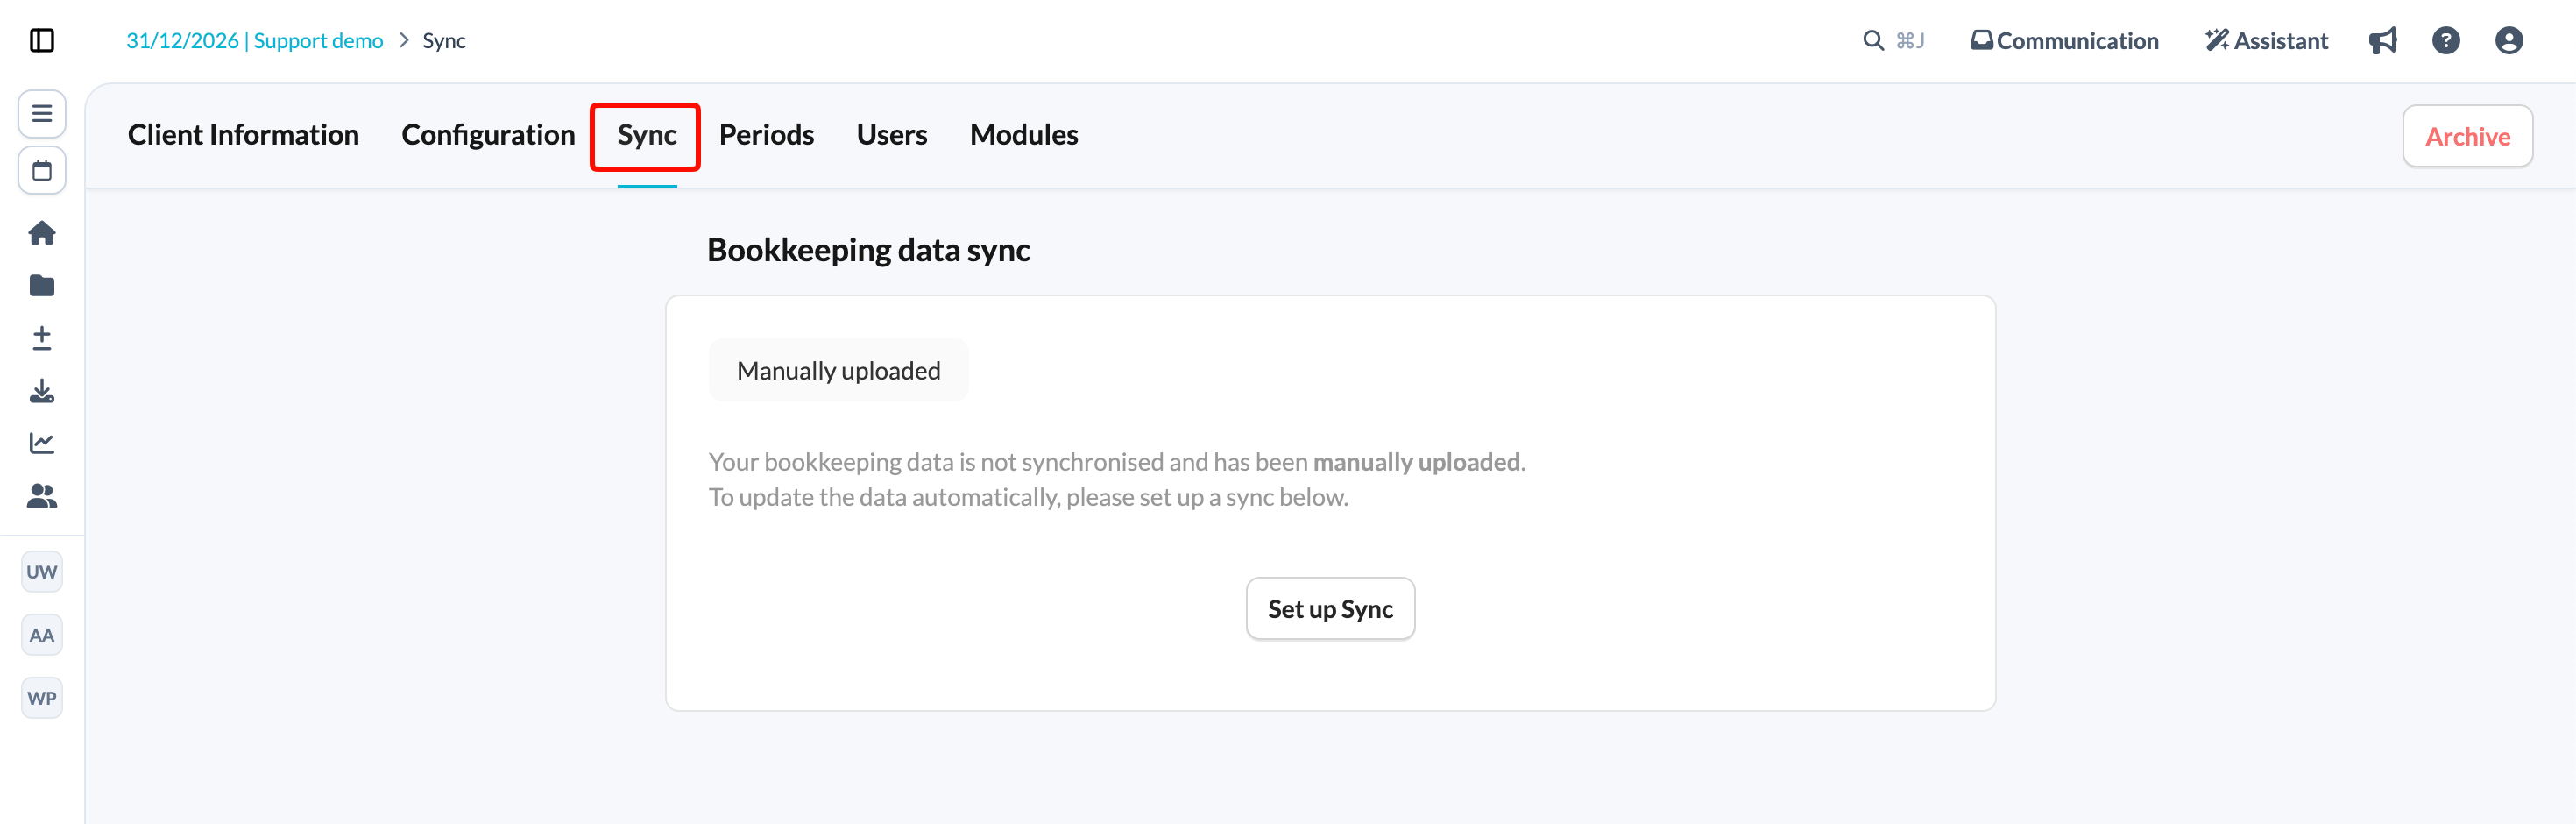
- Click the Sync tab.
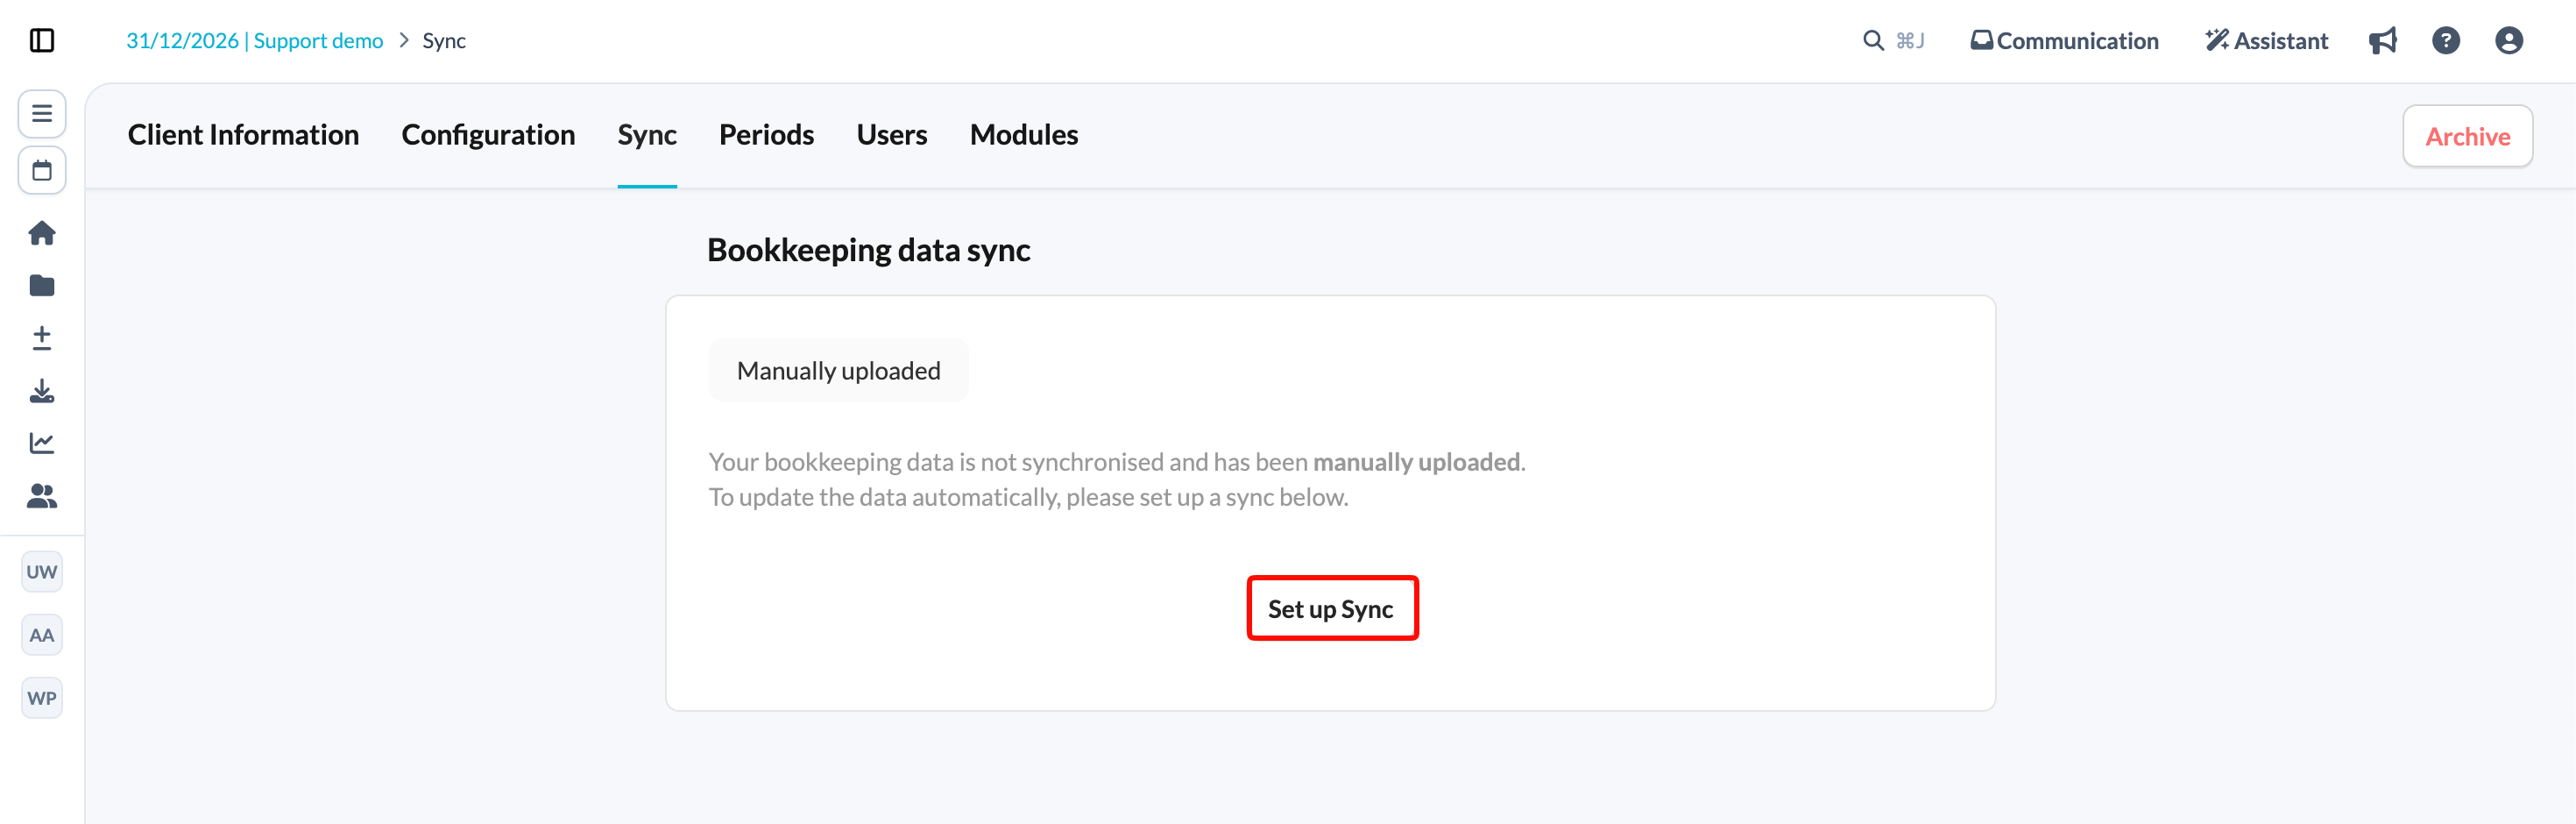
- Click Set up Sync.
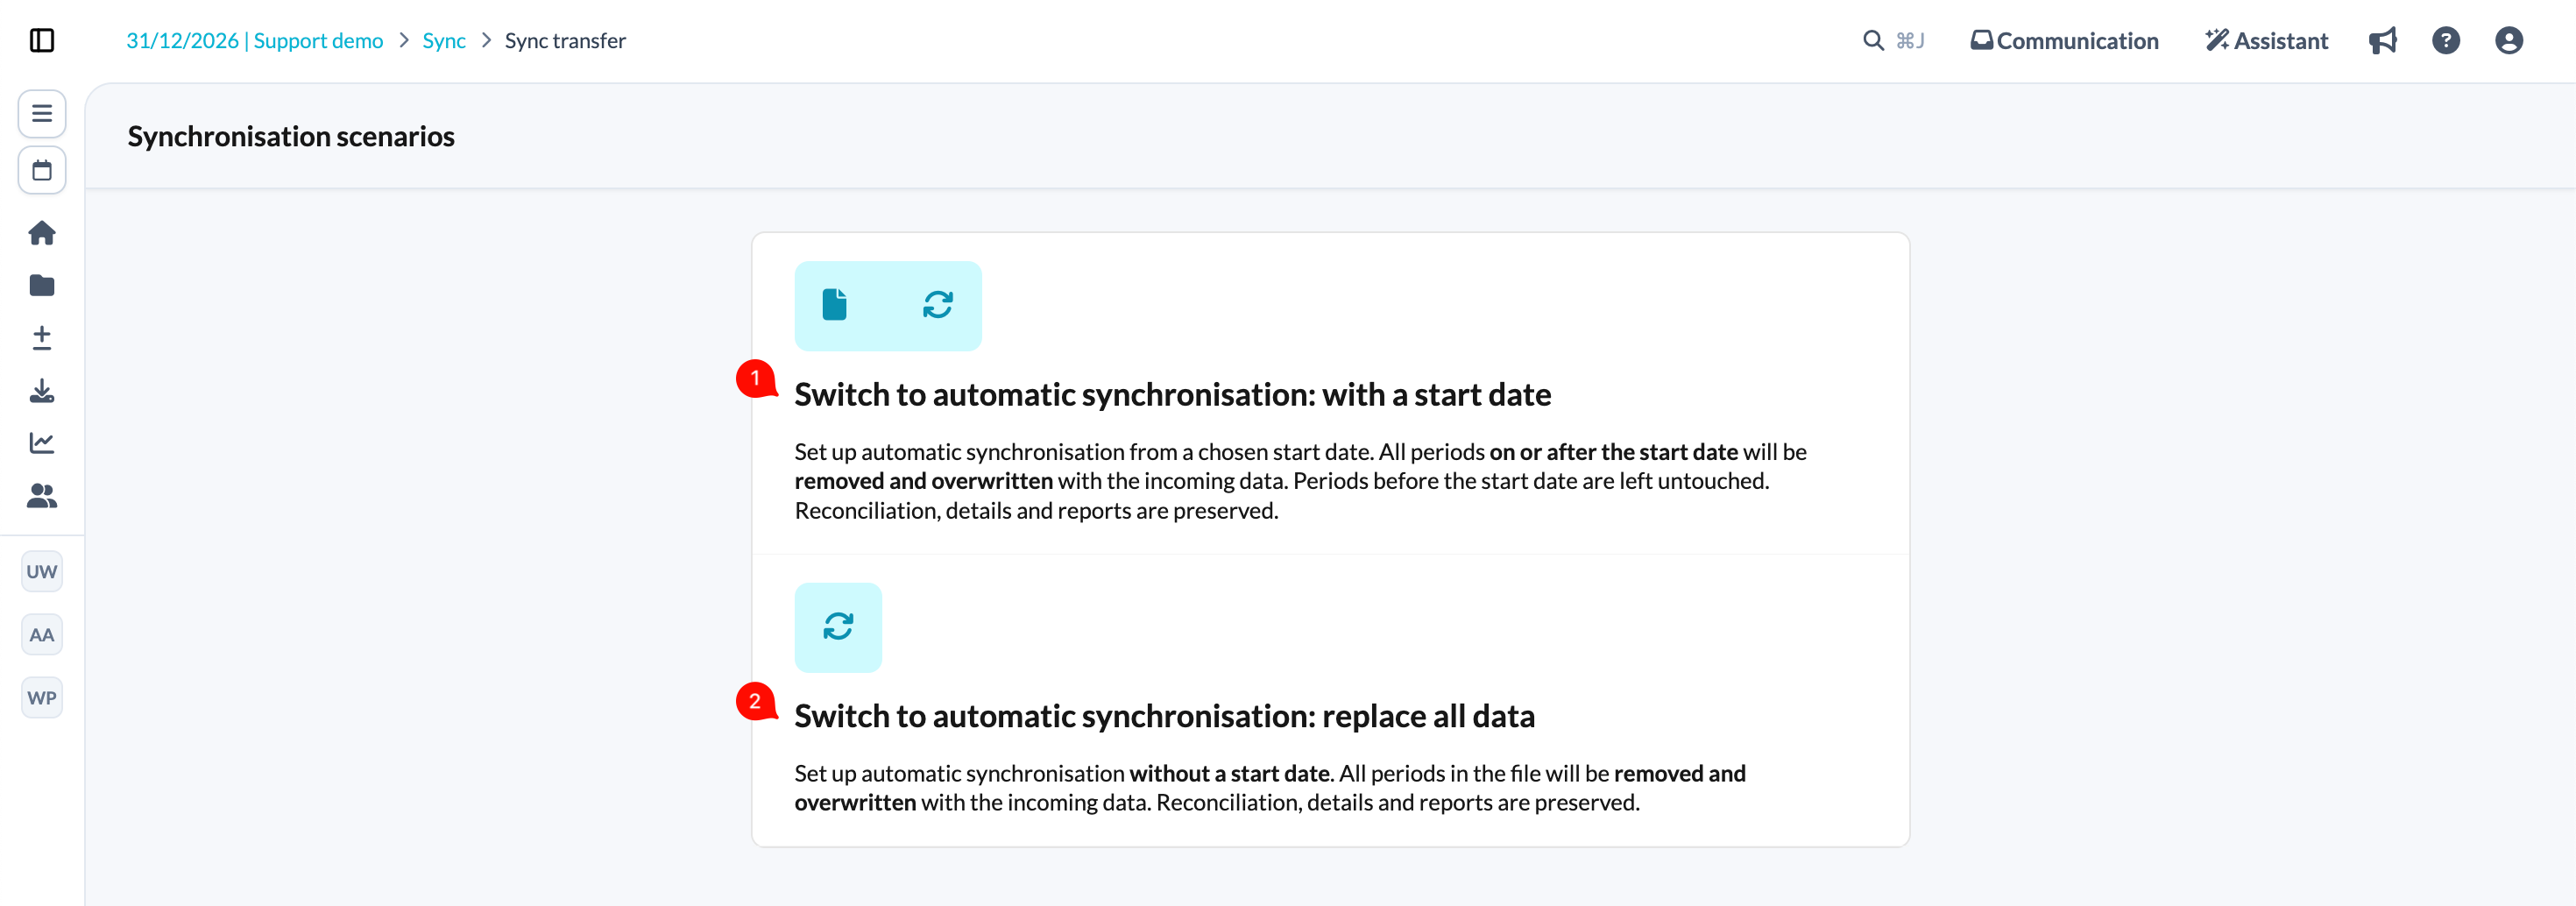
- Choose one of the provided synchronisation scenarios. If you choose the first scenario, you will be prompted to set the sync start date.
- Choose QuickBooks from the list of available synchronisations.
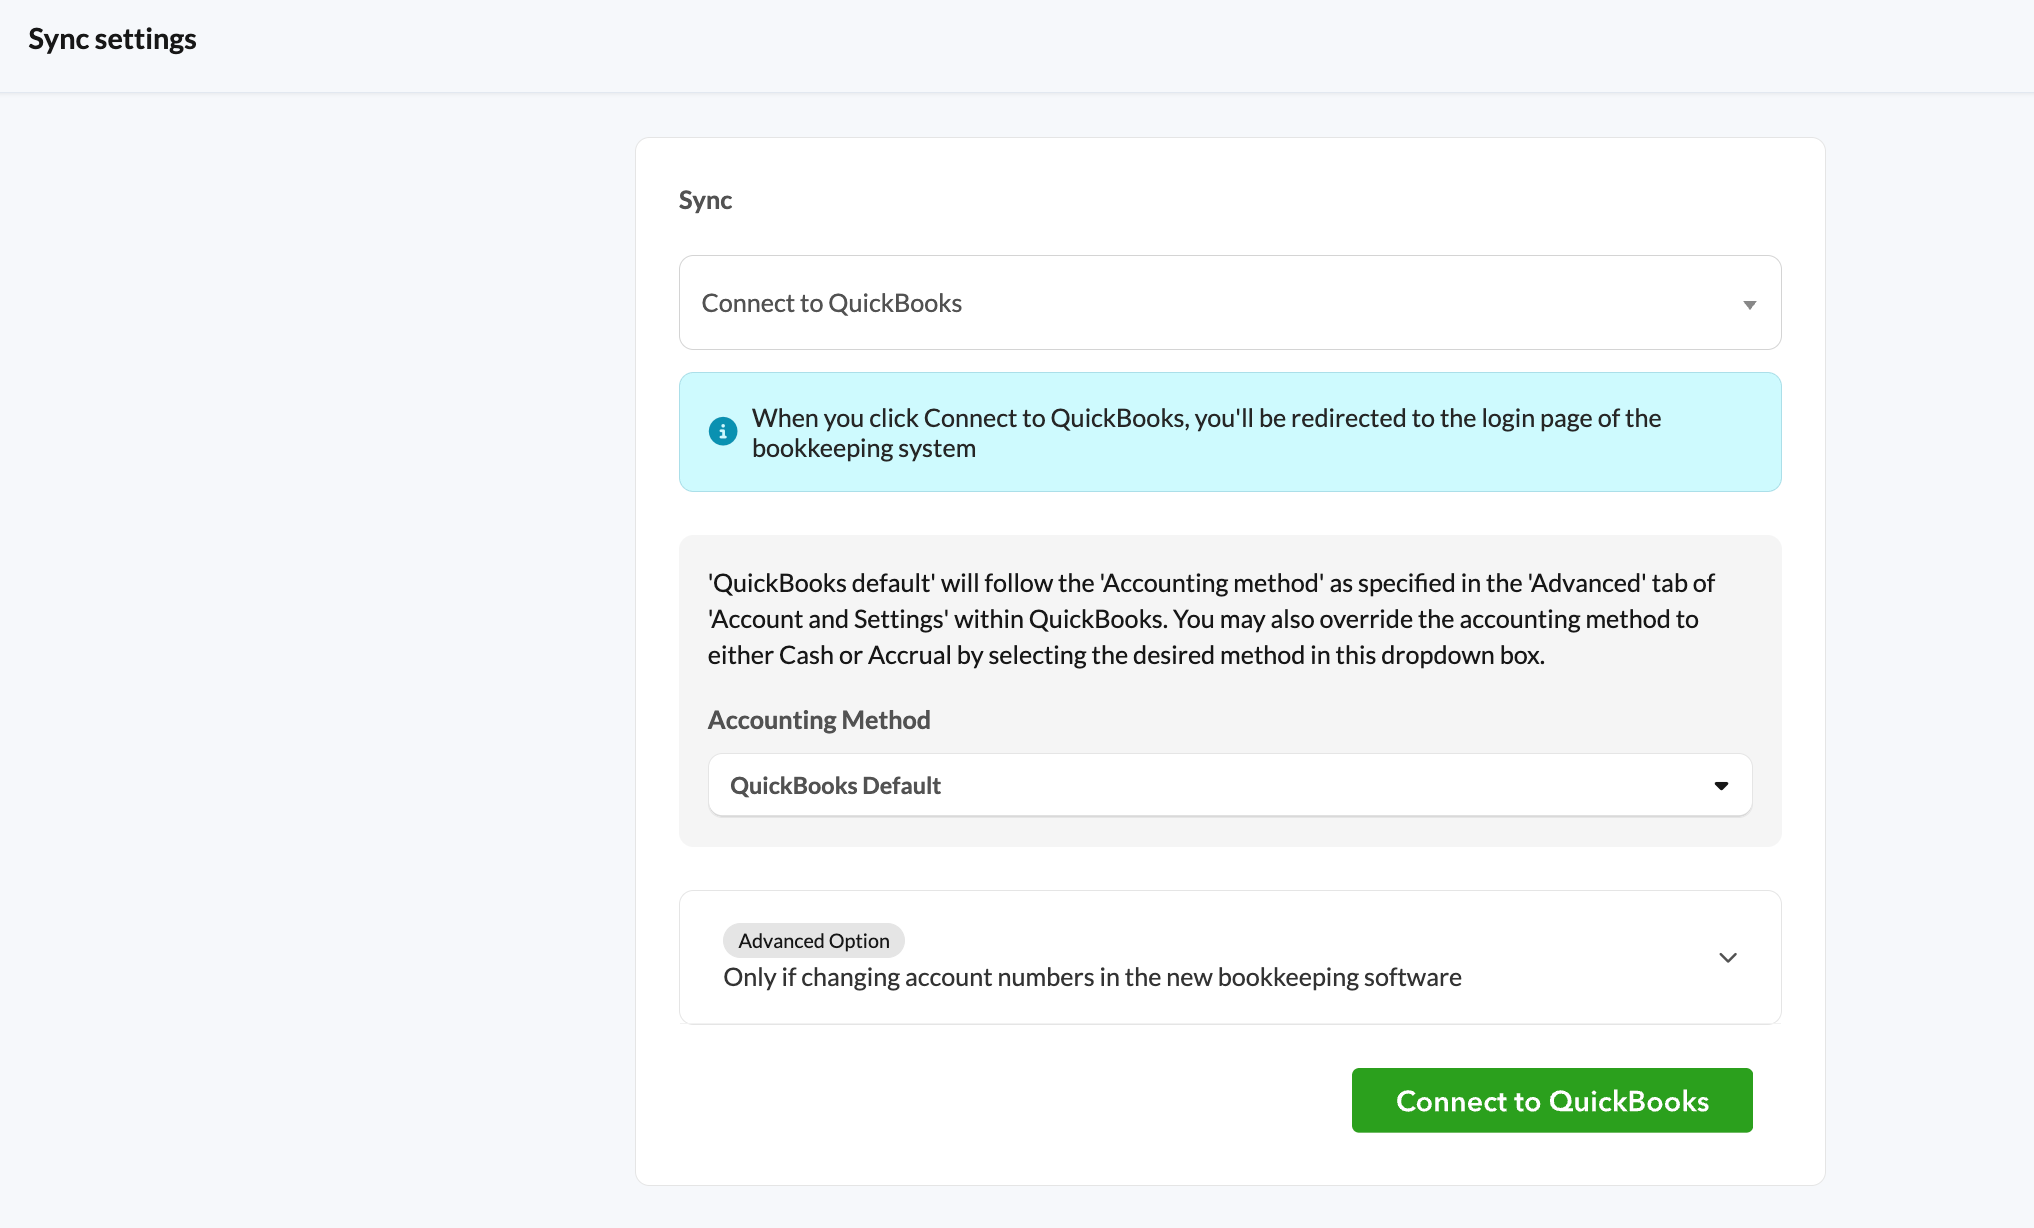
- When you click Save changes, you will be redirected to the accounting software login page. You need to log in with the credentials of the user who has access to the file you wish to sync.

Which accounting method does the QuickBooks sync use?
During the QuickBooks synchronisation setup, you will need to choose an accounting method.
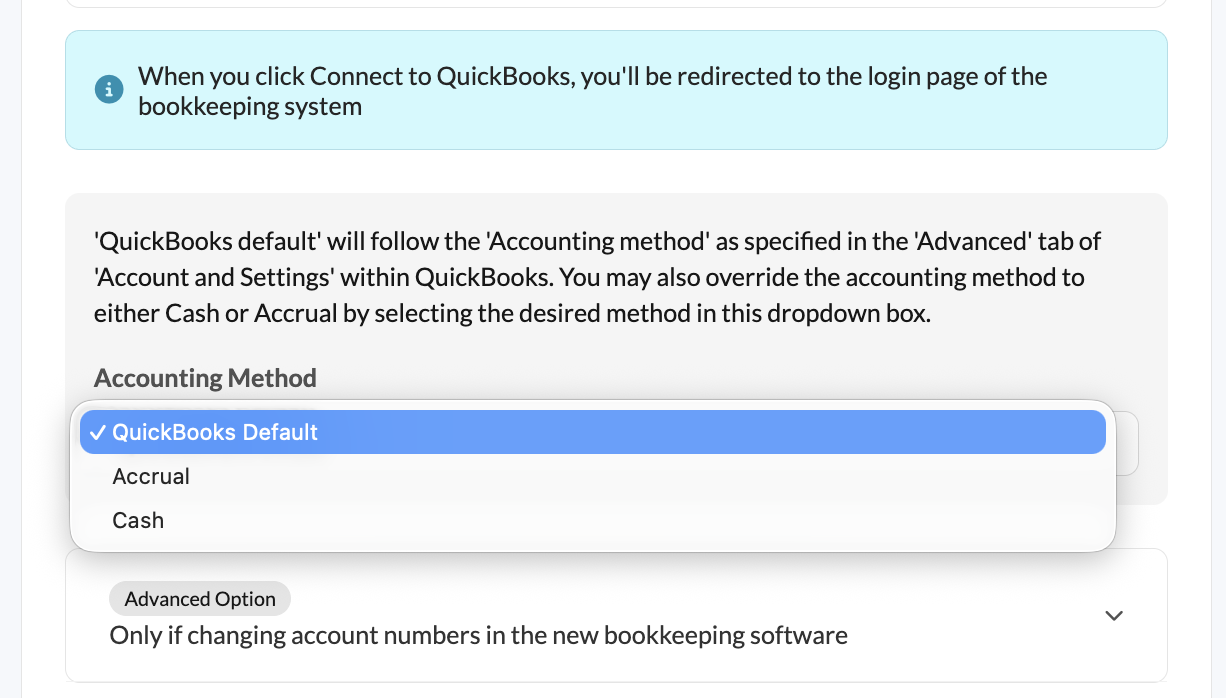
- By default, Silverfin will follow the accounting method set in QuickBooks (under Account and Settings > Advanced).
- You may override the accounting method to either Cash or Accrual by selecting the desired method in the dropdown box.
If you are setting up a brand new client file instead, see How can I set up synchronisation with QuickBooks when creating a new file?