| User Roles |  Admin Admin |  Staff contributor Staff contributor | ✗ External Contributor | ✗ Pulse user |
This article explains how to control which periods are visible to your clients in Pulse. It covers how to make periods public or private, how the visibility logic works across your file, and what happens to Pulse visibility when you switch a file's sync connection.
Table of contents
- How Public/Private Status Works
- Making a Period Public
- Making a Period Private
- What Happens When You Switch the Sync
How Public/Private Status Works
- Pulse does not store a public/private status on each individual period. Instead, the system tracks the latest date that should be accessible to Pulse users.
- Making a period public or private affects all periods up to or after that date accordingly.
Making a Period Public
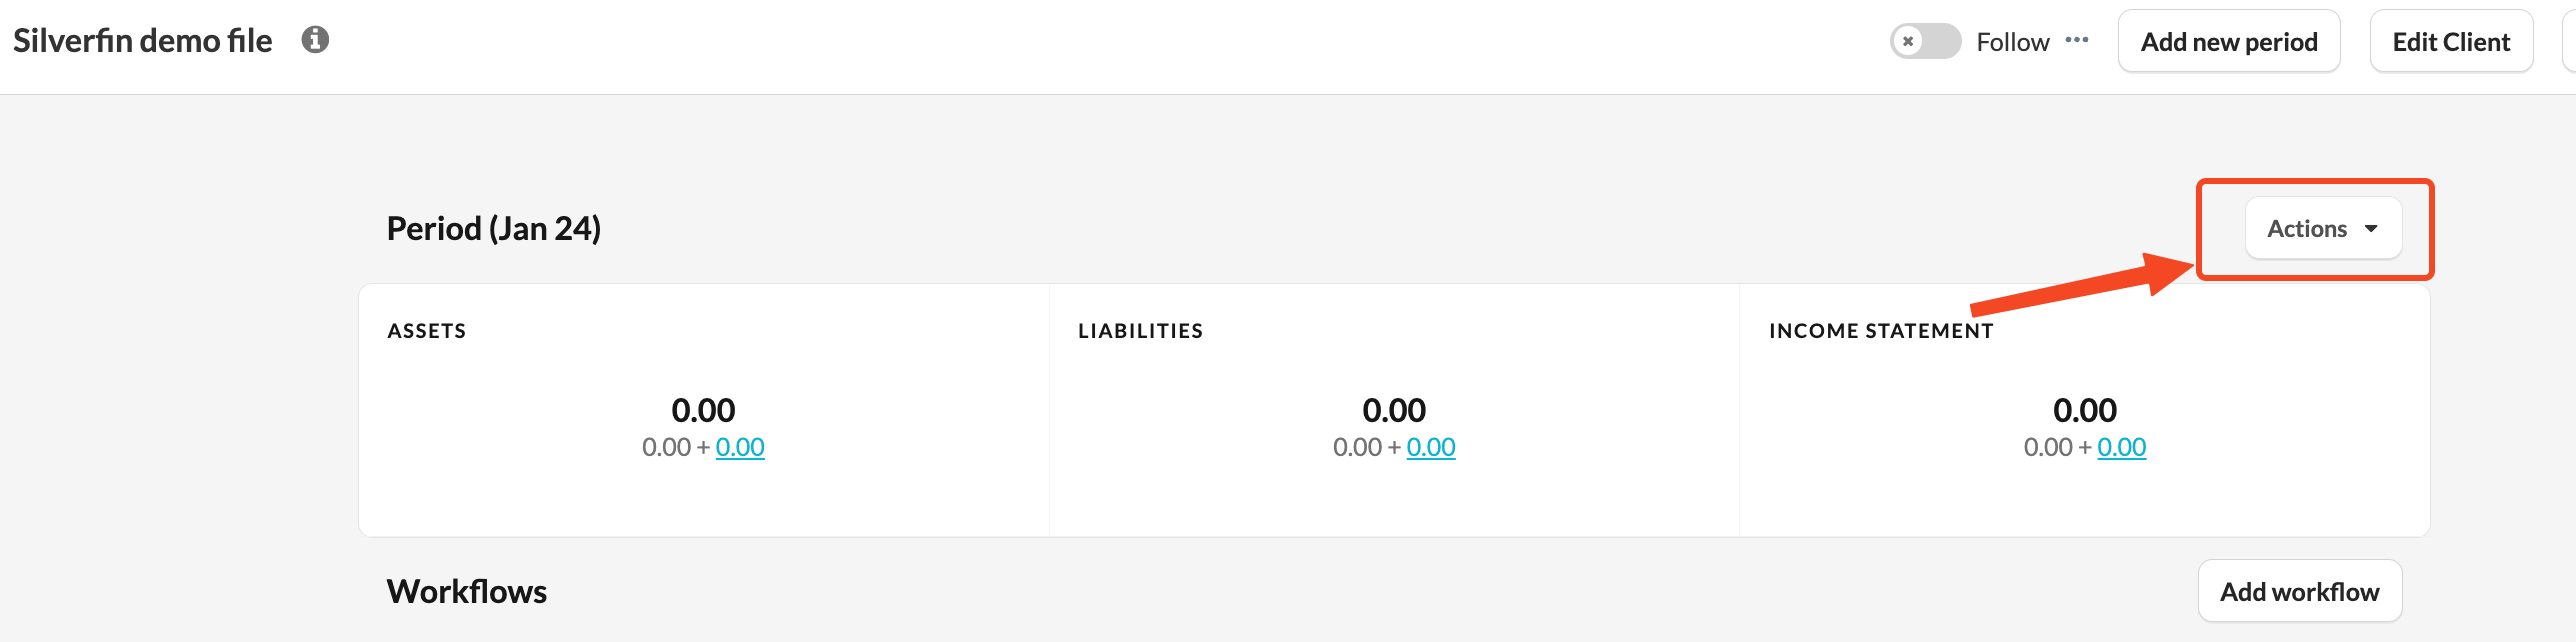
- Navigate to the desired period within the client file.
- Click the Action button.

- Click Make Public.
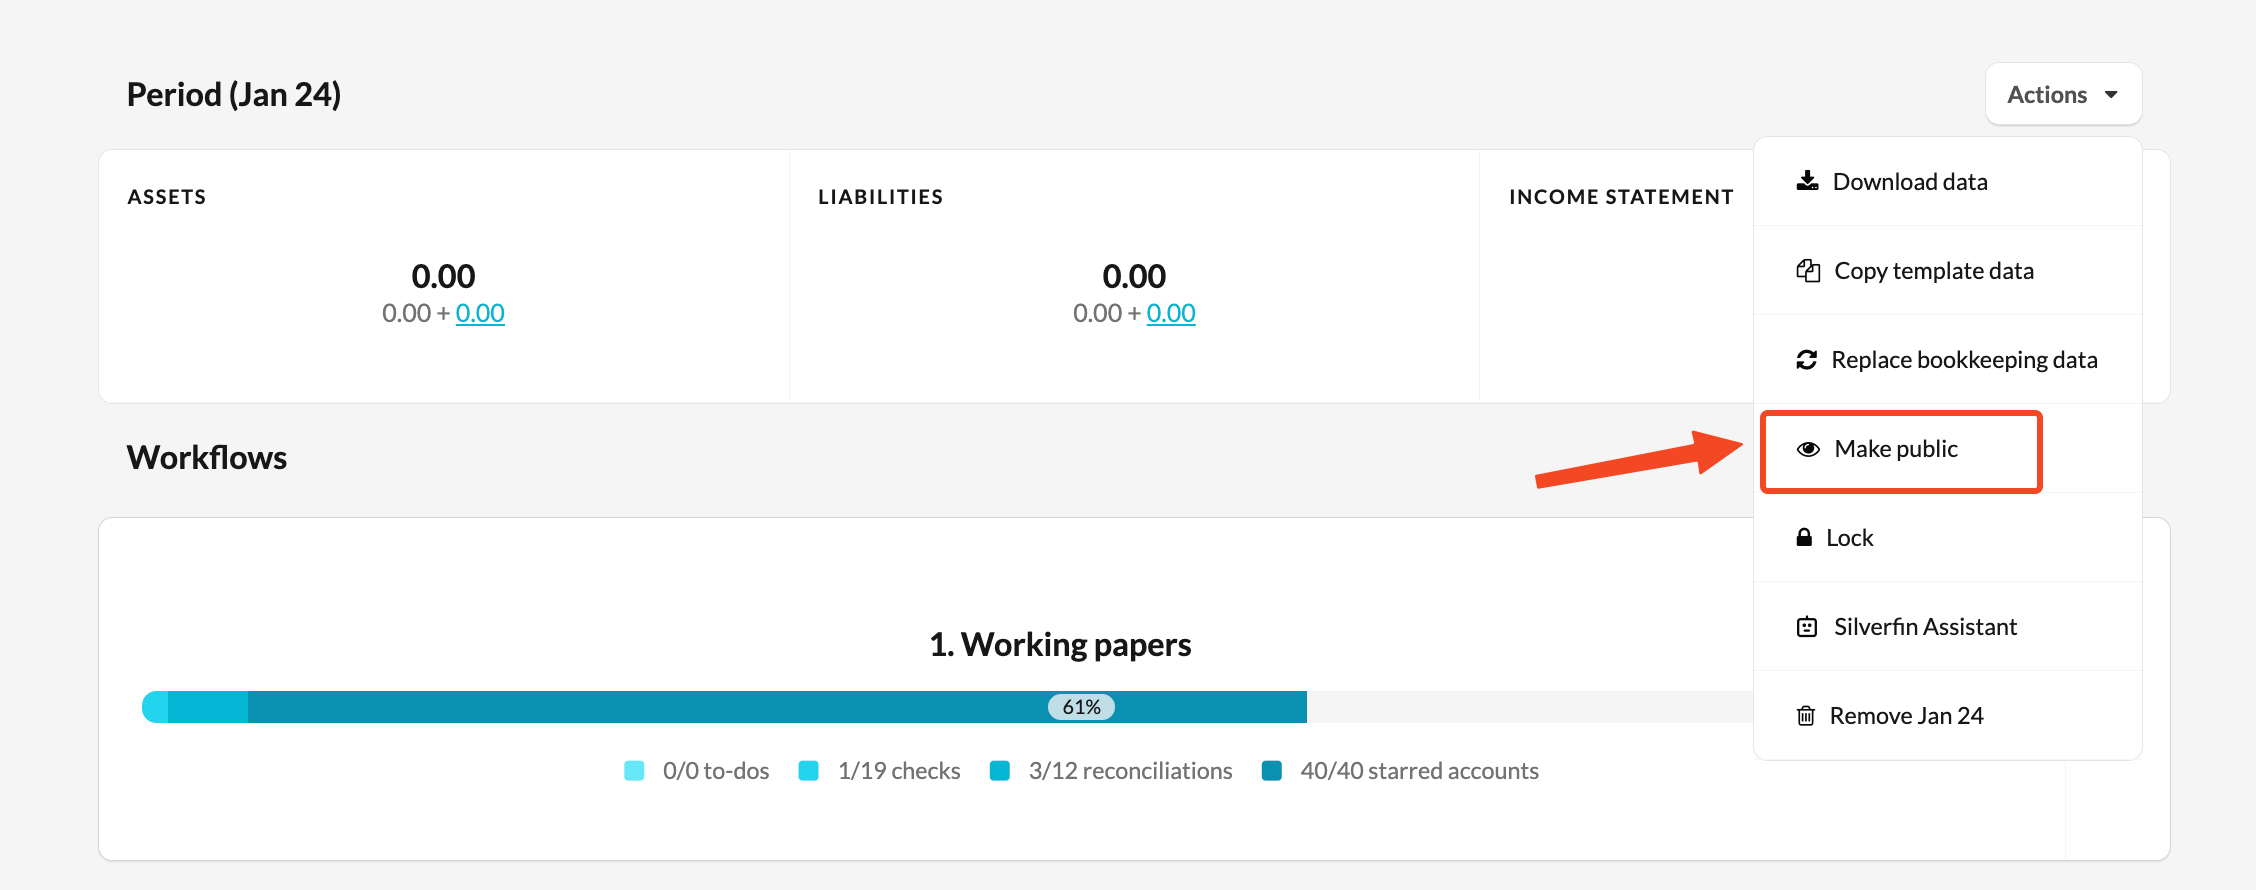
- All periods up to and including the selected period will be visible to the client in Pulse.
Example:
Consider the following periods: 2021, 2022, 2023, 2024 (all private).
- If you navigate to 2023 and click Make Public, all periods up to and including 2023 (2021, 2022, and 2023) will be made public.
- 2024 remains private.
This indicates that the user working in the file considers all periods up to 2023 as ready for client access.
Making a Period Private
- Navigate to the desired period within the client file.
- Click the Action button.
- Click Make Private.
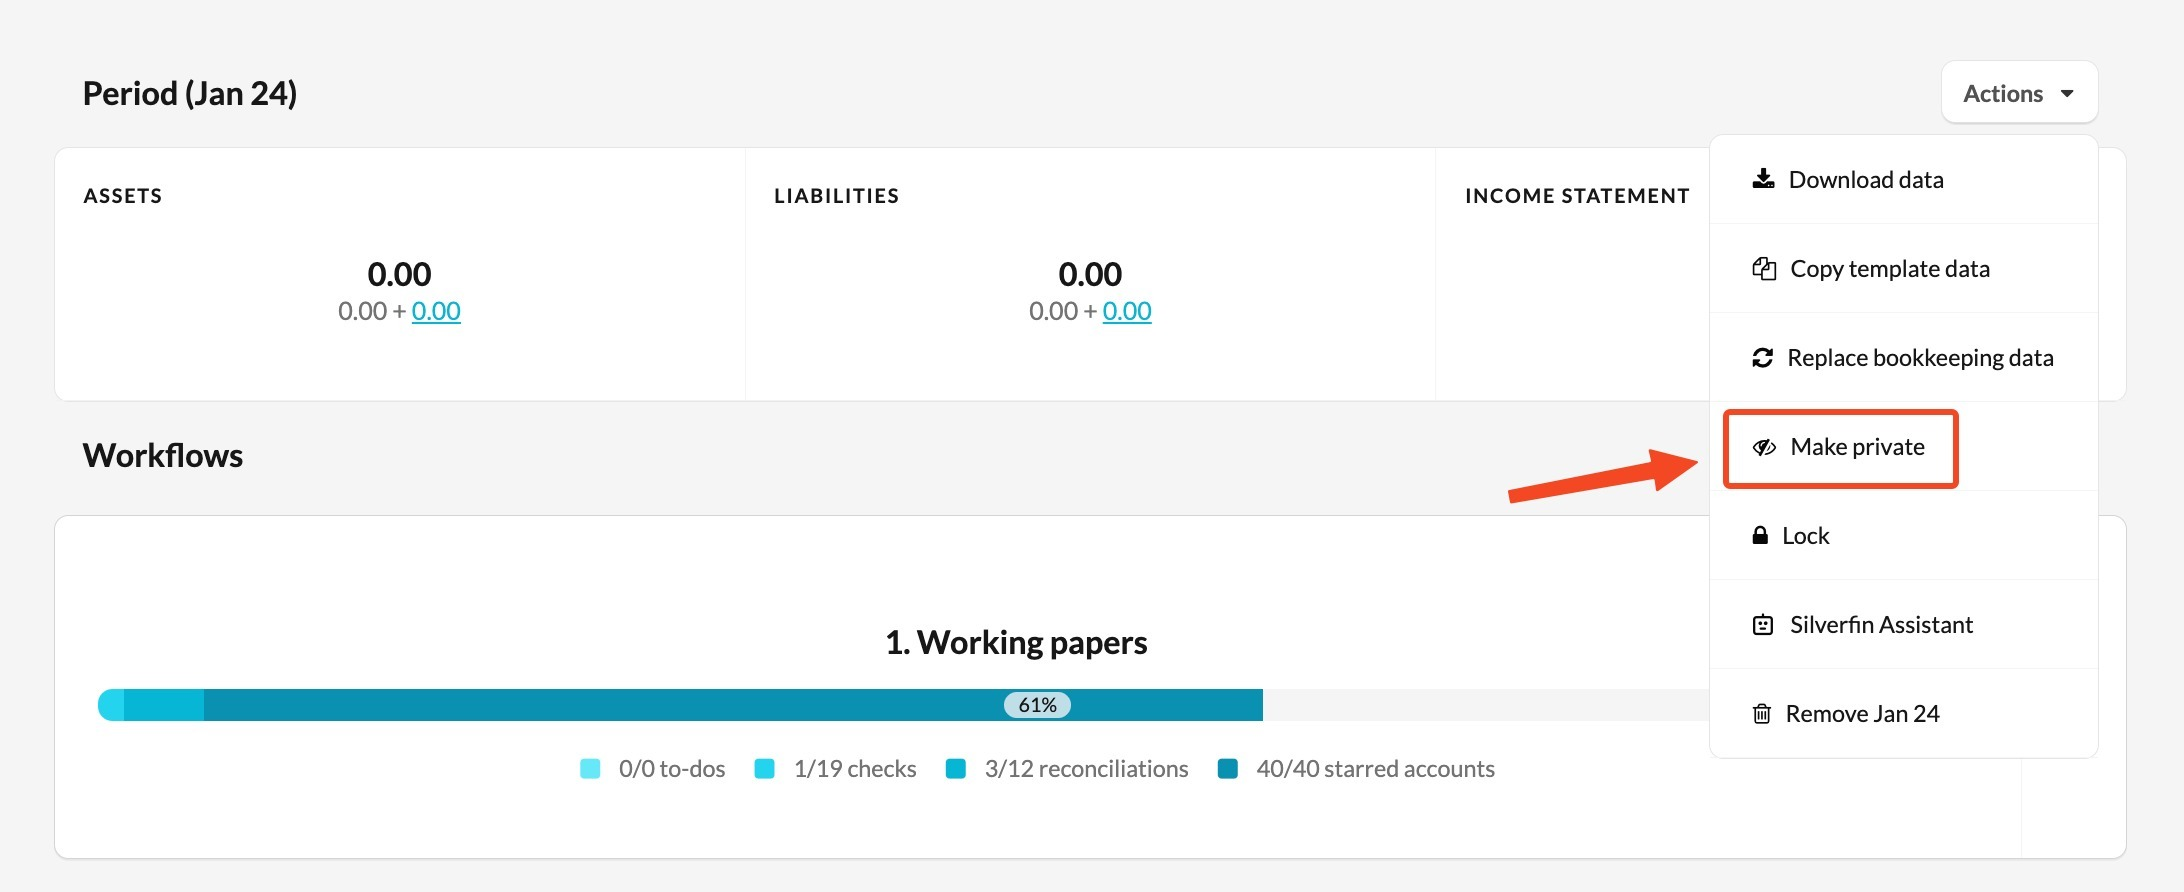
- The selected period and all subsequent periods will be hidden from the client in Pulse.
Example:
- Consider the following periods: 2021, 2022, 2023, 2024.
- If you navigate to 2022 and click Make Private, 2022 and all subsequent periods (2023 and 2024) will become private.
- Only 2021 remains public.
By following these steps, you can manage which periods are accessible to your clients, ensuring that only finalised and approved information is shared.
What Happens When You Switch the Sync
If you switch from one accounting software to another all Pulse period visibility will be automatically reset to private across the entire file.
This means your client will immediately lose access to all periods in Pulse, regardless of what was previously made public.
After switching a sync connection, remember to review and re-apply your Pulse period visibility settings. Navigate to each relevant period and use the Make Public action to restore client access.
If you have further questions, please contact Silverfin support.