
| User Roles |  Admin | ✗Staff contributor | ✗External contributor | ✗Pulse user |
As an admin user in Silverfin, you can customise workflow statuses to match your firm's needs. Workflow statuses help centralise communication, streamline preparation and review, and improve collaboration across teams. This article walks you through how to manage workflow statuses at firm level.
Table of contents
- Why use workflow statuses?
- How do I manage workflow statuses at firm level?
- How do I enable or disable workflow statuses?
- How can I track workflow statuses across client files?
Why use workflow statuses?
Centralised communication
- Keeps all workflow-related discussions within Silverfin, reducing external emails and messages.
Improved visibility and streamlining
- Helps users quickly see whether a workflow is still in preparation or ready for review.
- Improves tracking and accountability by providing clear status updates.
How do I manage workflow statuses at firm level?
Adding or editing workflow statuses
As an admin, you can add custom workflow statuses at firm level.
To manage workflow statuses:
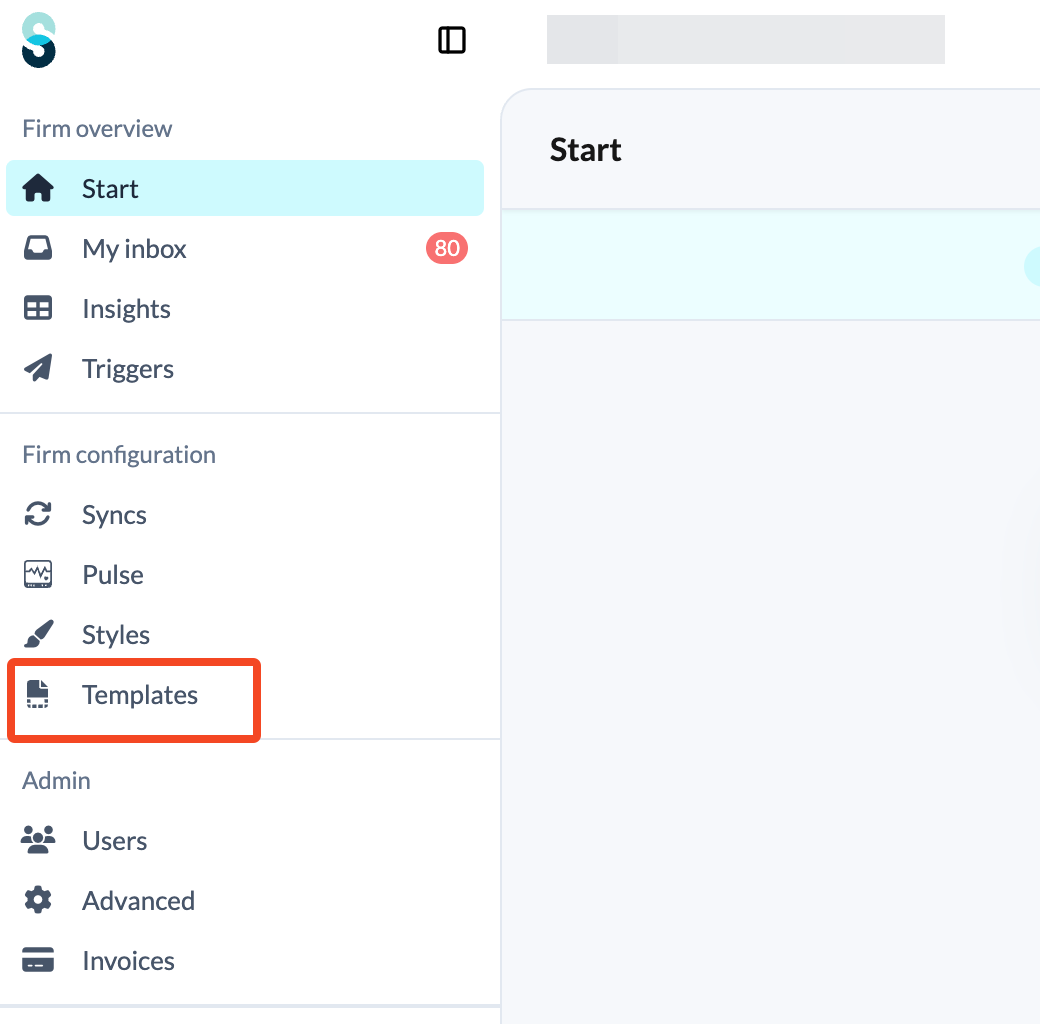
- Click Templates in the left panel, under Firm configuration.
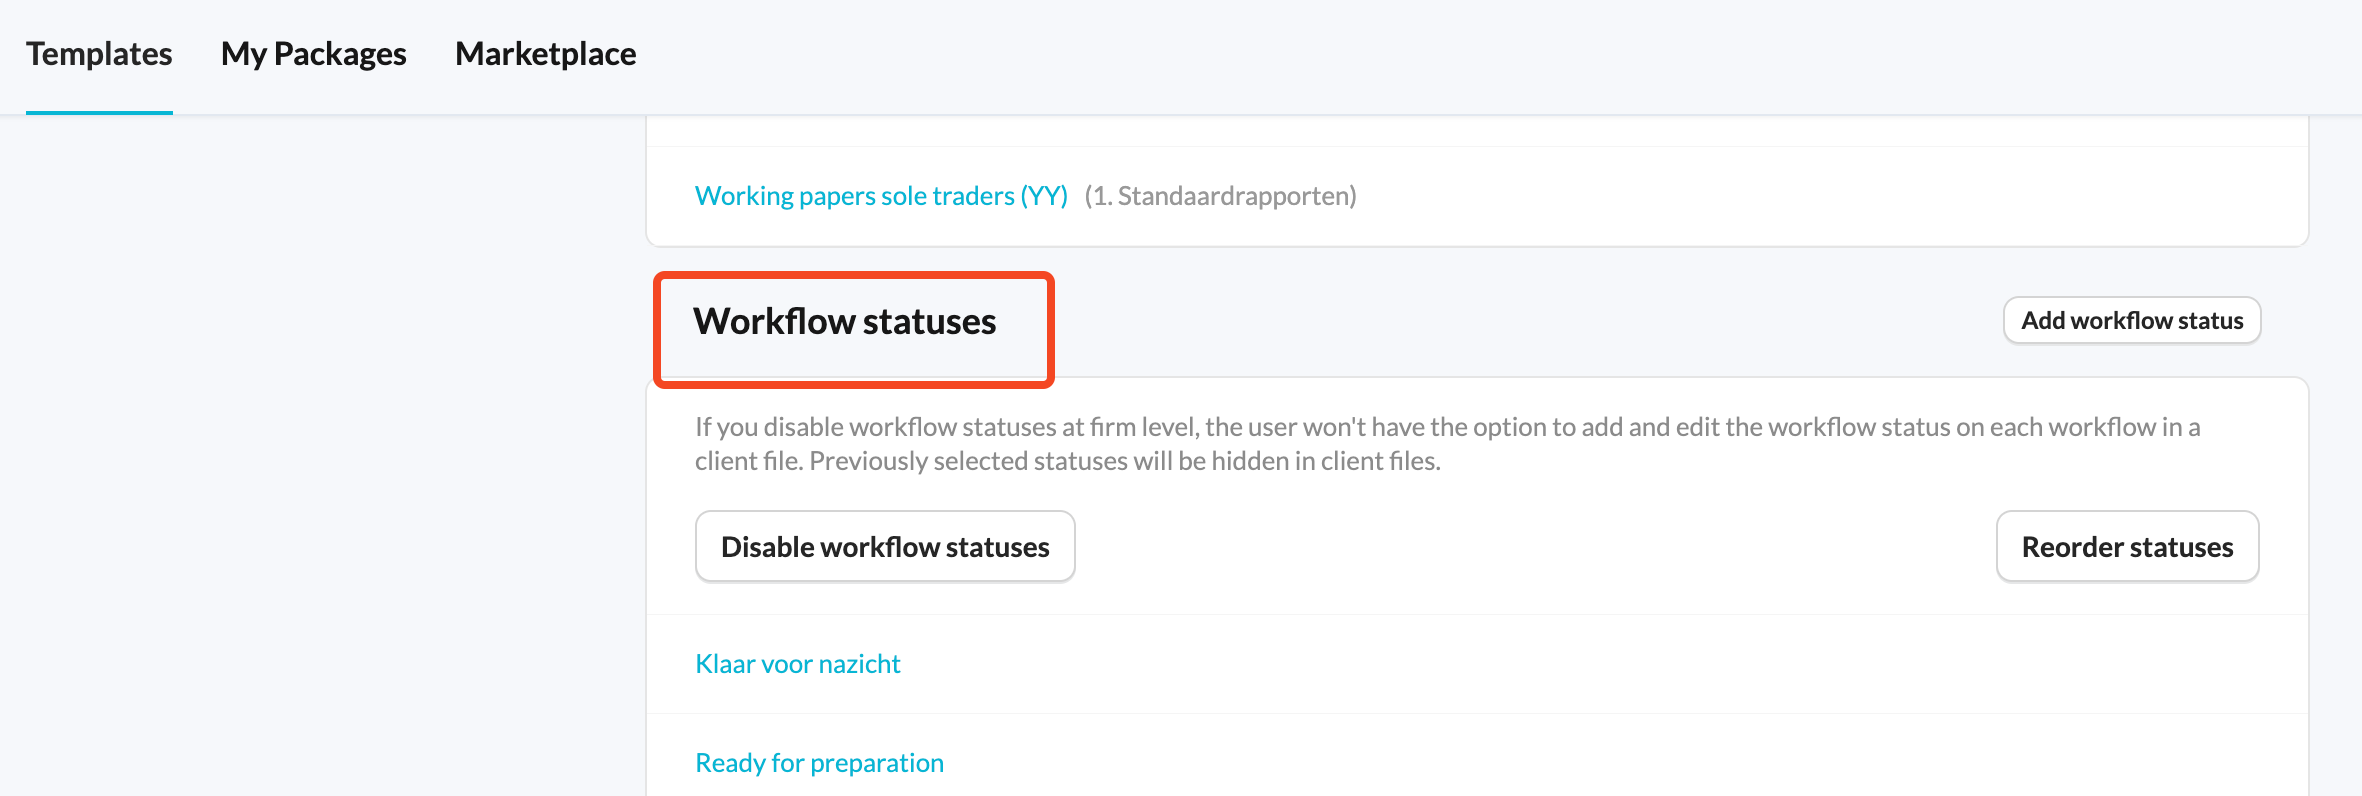
- Scroll down to the Workflow statuses section to view the current list.
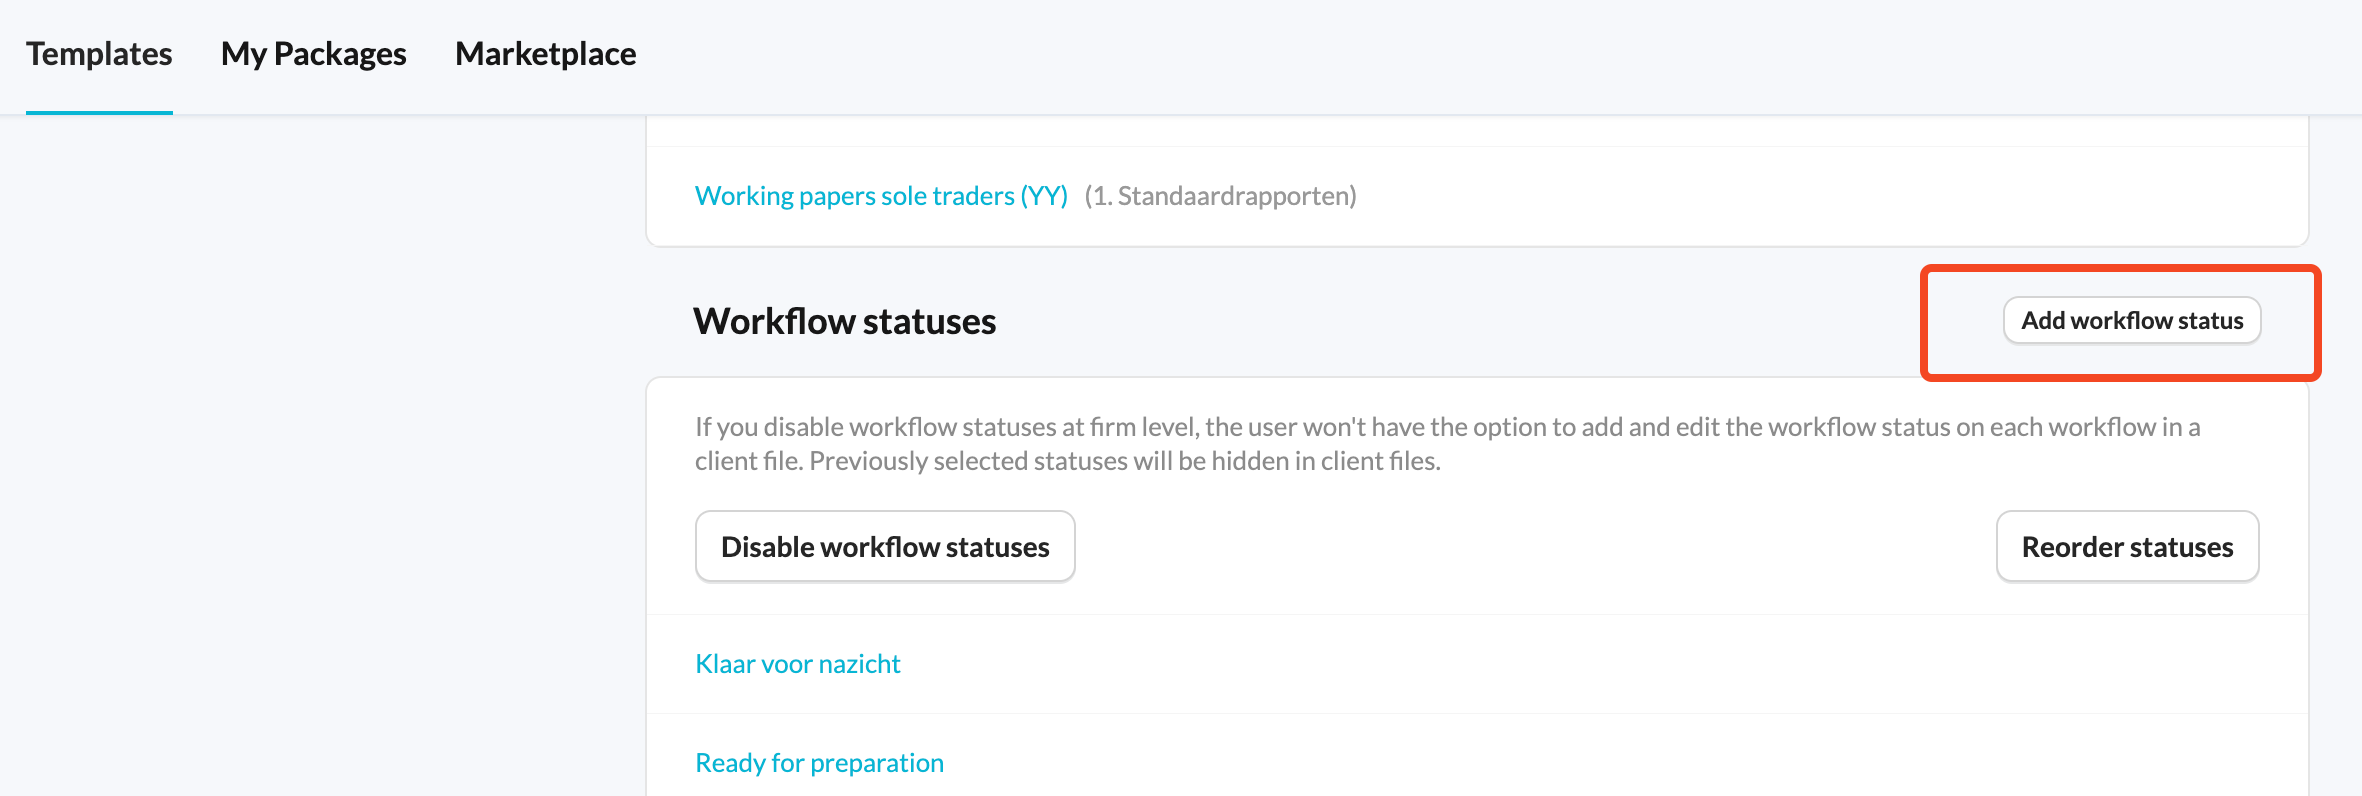
- Click Add workflow status to create a custom workflow status.
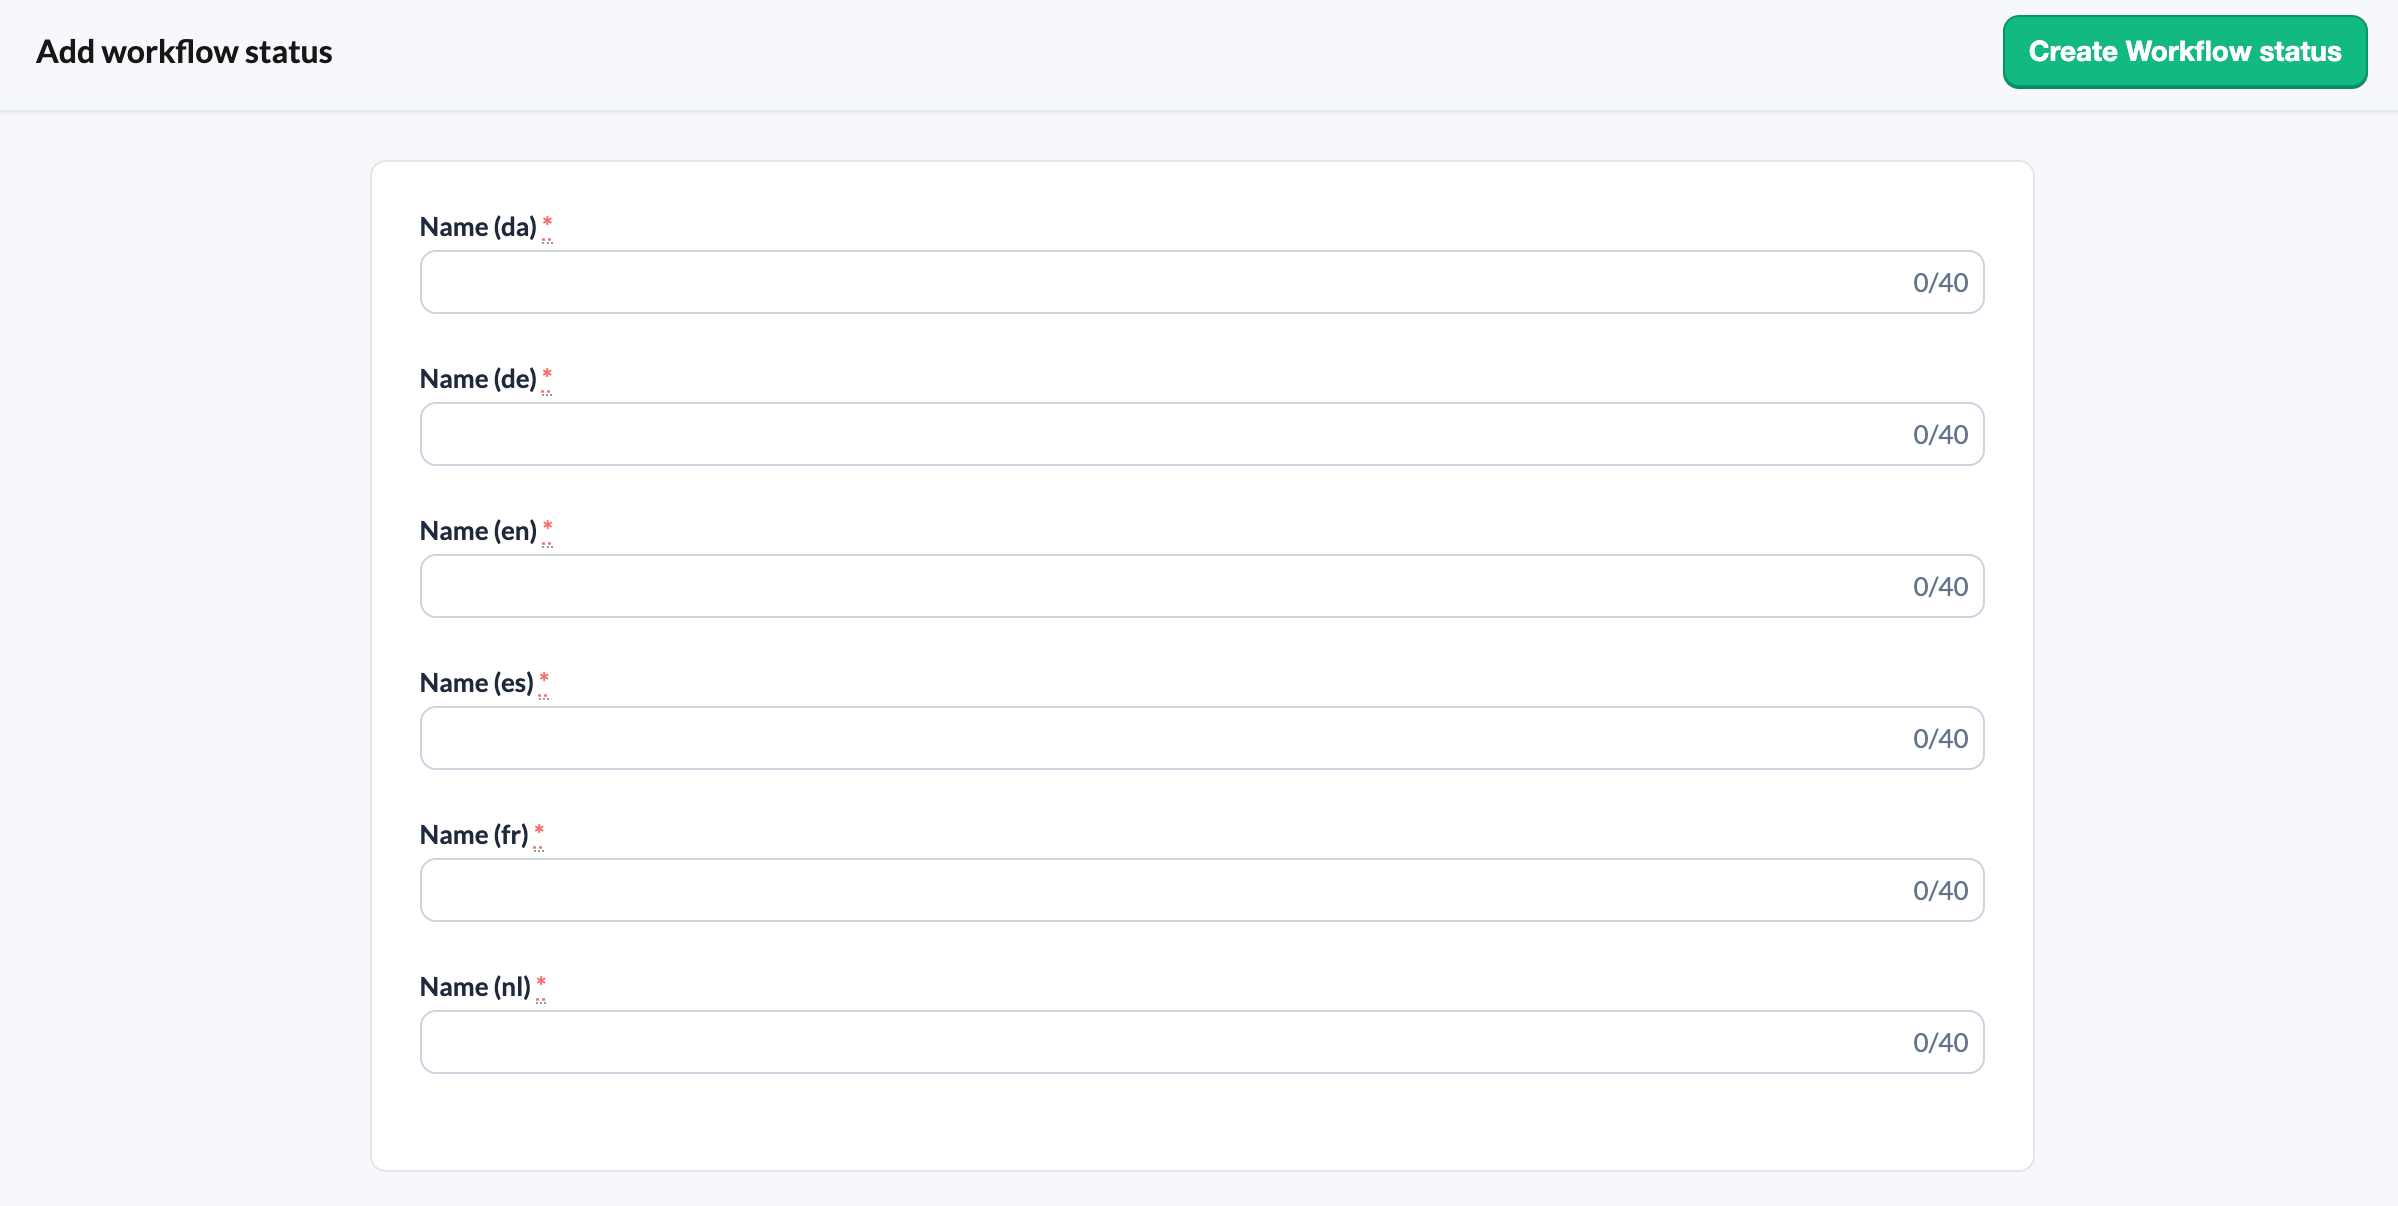
 Enter a name for each language (Name (en), Name (fr) and Name (nl), up to 40 characters each) and click Create Workflow status. Use clear, descriptive names to keep workflow statuses consistent across teams.
- To change an existing status, click its name or the pencil icon (Edit workflow status), adjust the names and click Update Workflow status.
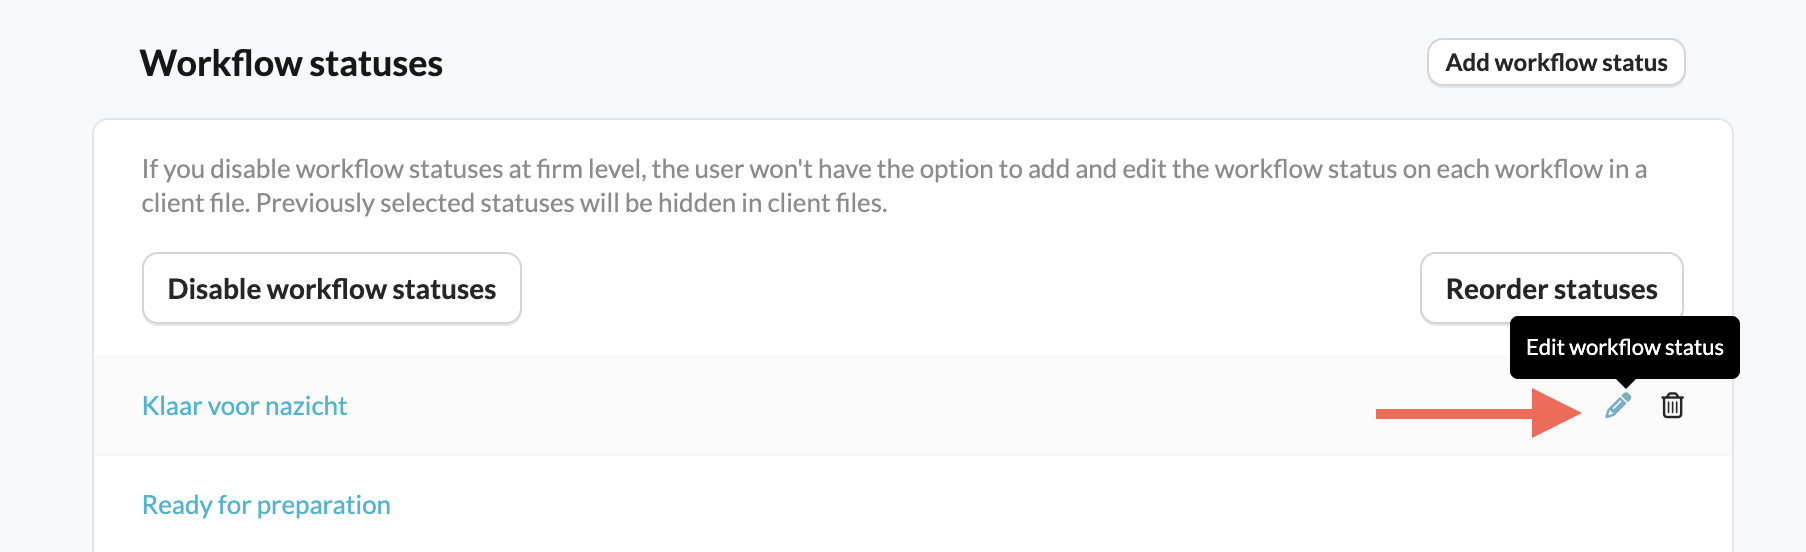
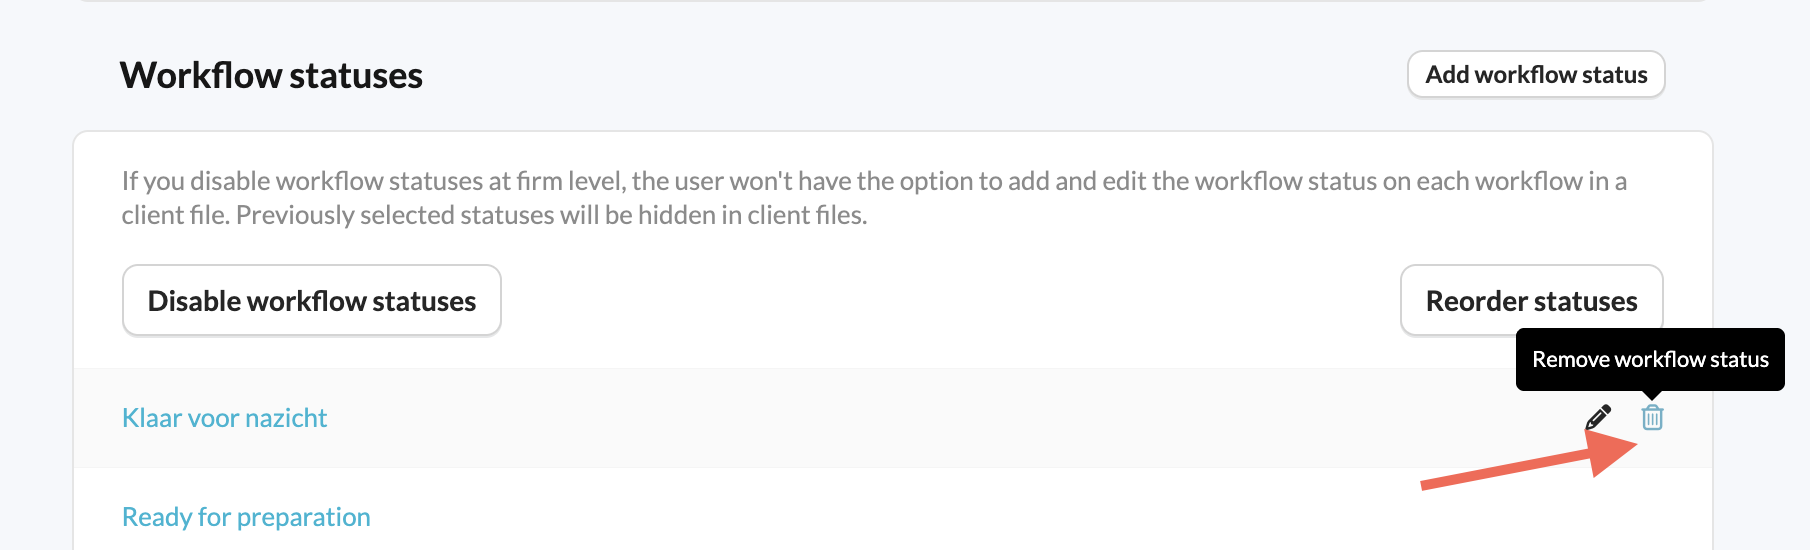
- To take a status out of use, click the icon next to it. You will see Remove workflow status if the status has never been used in a client file, or Archive workflow status if it is already set in a file workflow.
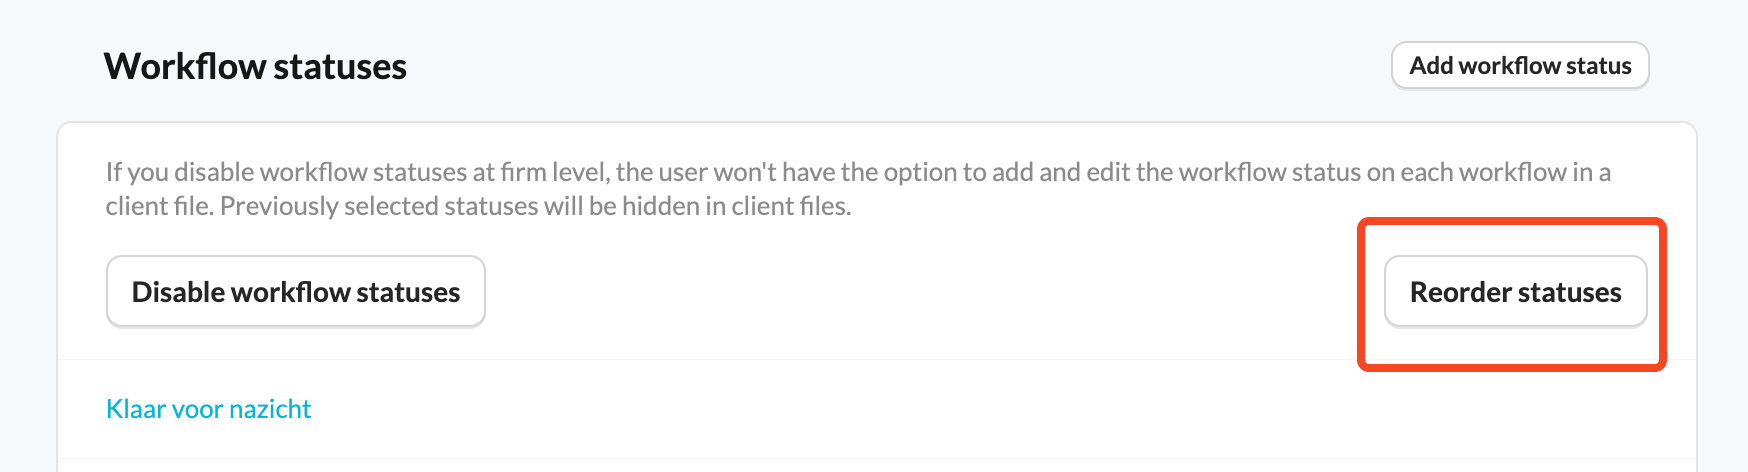
- To change the order in which statuses appear, click Reorder statuses, drag the statuses into the order you want and click Save.
You can only archive a status that has already been set in a file workflow. Once archived, it can no longer be selected in workflows in a client file, but workflows that already use it keep their status. You can reactivate an archived status if you need it again.
How do I enable or disable workflow statuses?
- Workflow statuses appear in several places within Silverfin, such as the client overview page and next to the workflow title.
- You can enable or disable them at firm level. When they are disabled, users cannot add or edit the workflow status on each workflow in a client file, and previously selected statuses are hidden in client files.
To change this setting:
- Click Templates in the left panel, under Firm configuration.
- Scroll down to the Workflow statuses section.
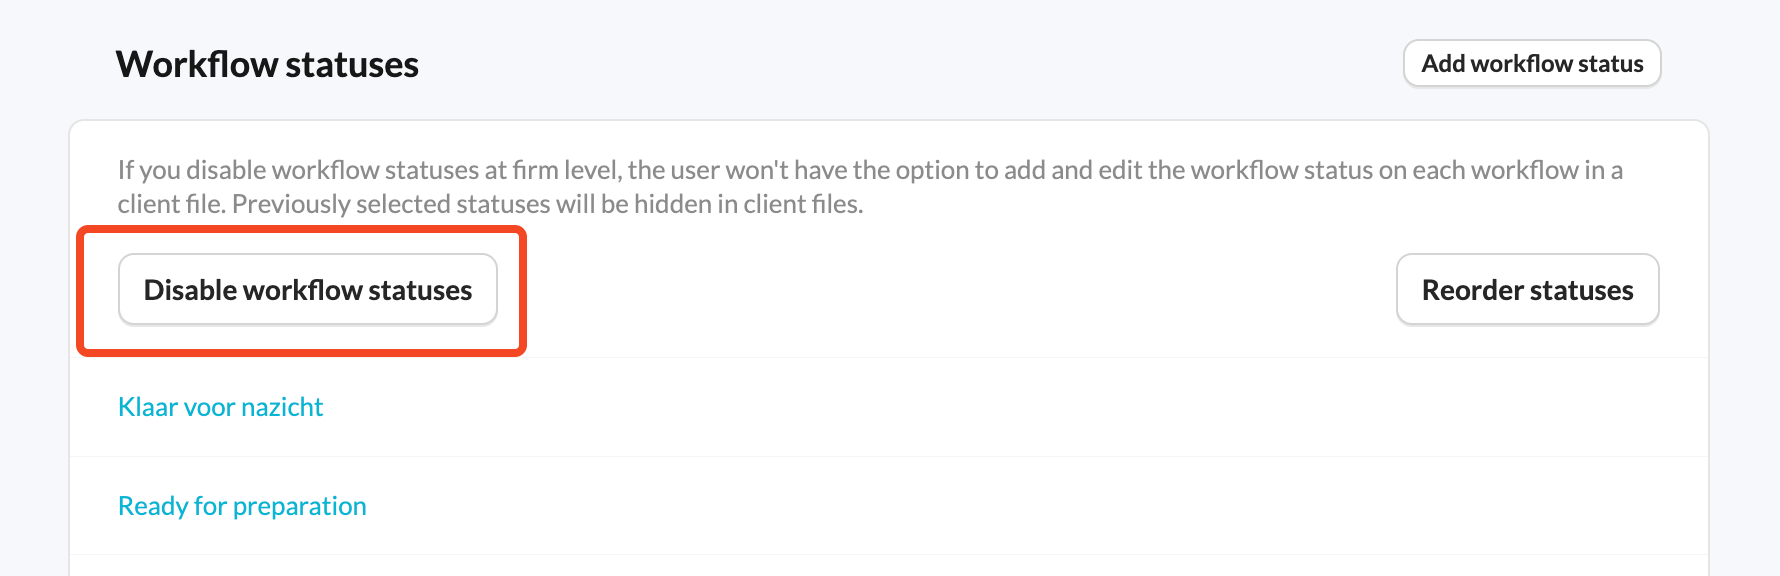
- Click Disable workflow statuses to switch the feature off, or Enable workflow statuses to switch it back on.
How can I track workflow statuses across client files?
Using the Insights module
You can use the Insights module to track workflow statuses across multiple client files. Click Insights in the left panel, under Firm overview.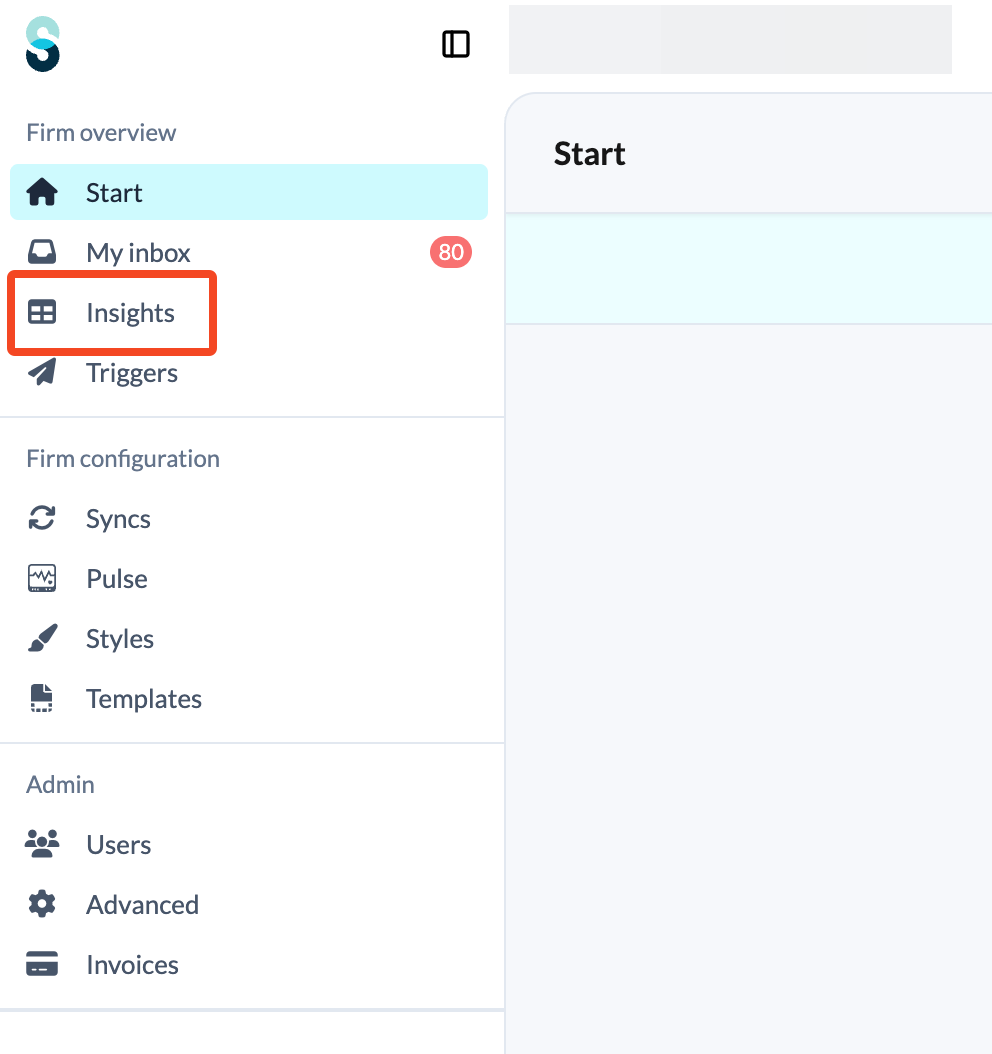
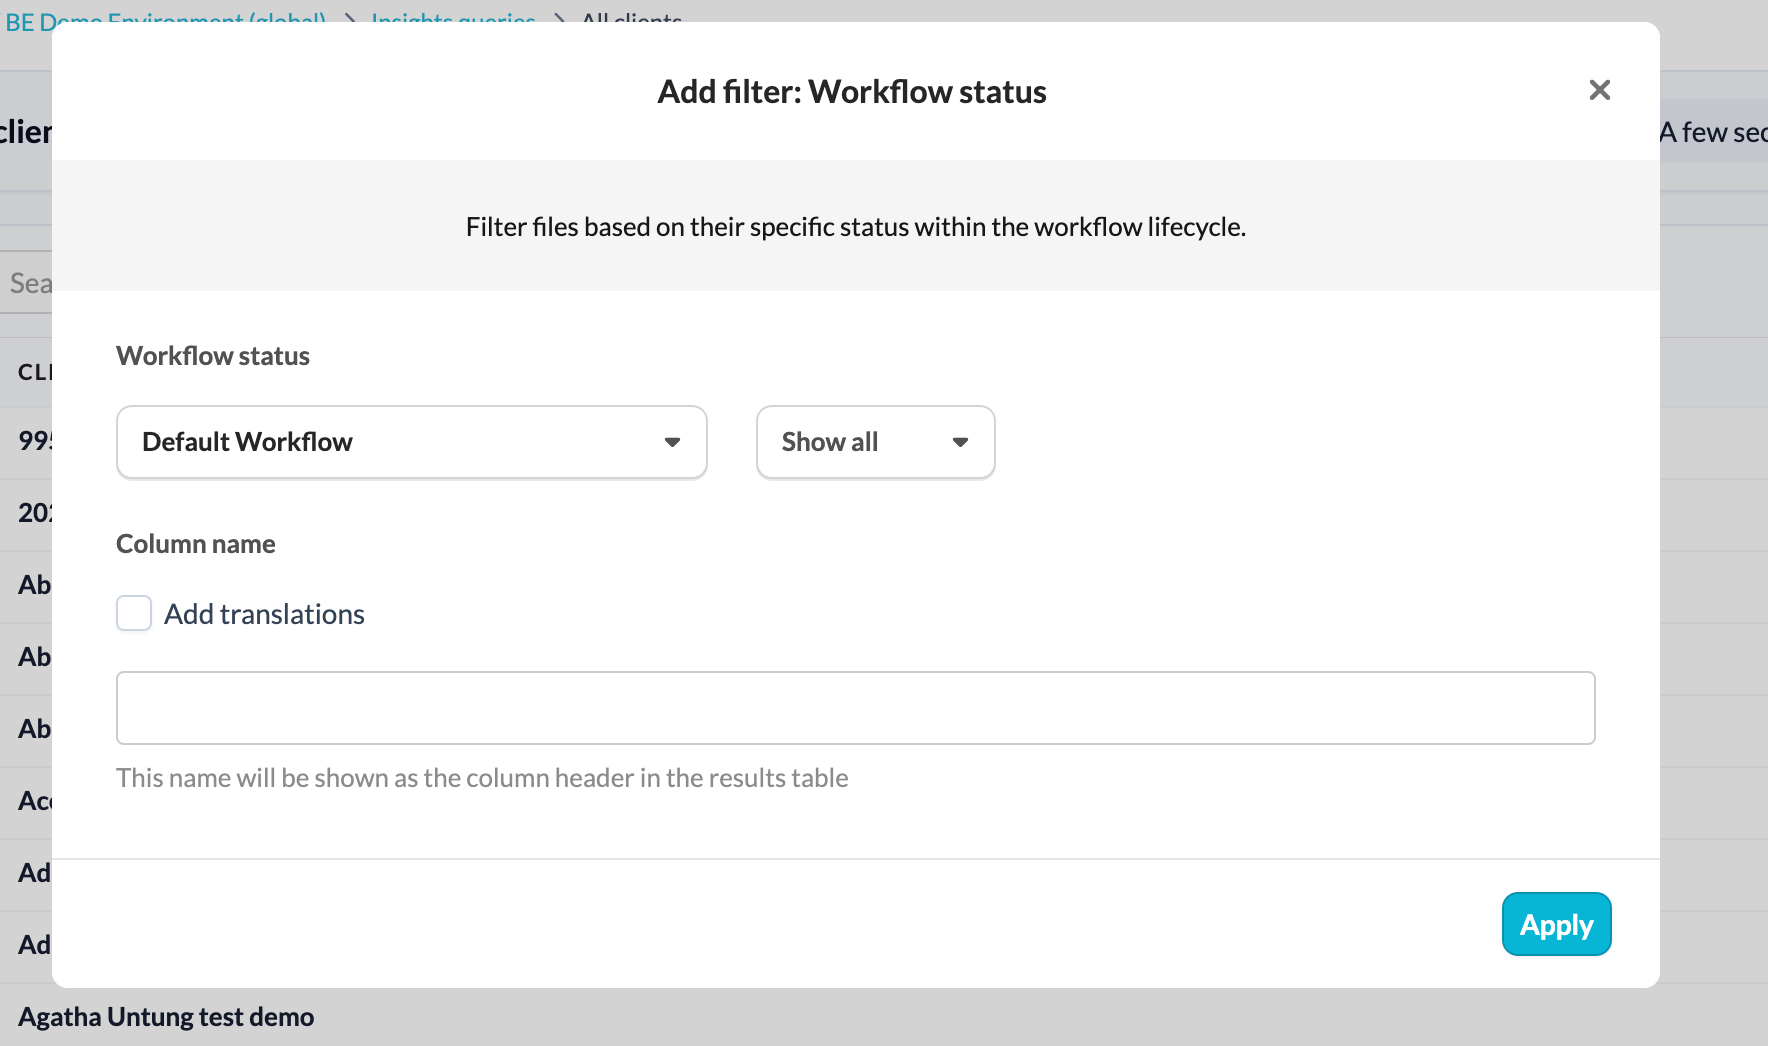
- Use the Workflow status filter.
- Search for specific workflow statuses across multiple client files.
Example use case
A manager wants to check whether annual accounts deadlines will be met. Using Insights, they can track all client files currently in review and identify any potential delays.
Need access to Insights?
Contact your Customer Success Manager for more details.
API integration: sync workflow statuses across tools
Many firms use separate tools to track deliverables such as Corporate Tax, VAT and Annual Accounts, which often means updating statuses manually in several systems. To streamline this, Silverfin lets you retrieve workflow statuses via the API, so they sync automatically with external tools.
For setup details, check the Silverfin API documentation or contact your Customer Success Manager.