| User Roles | ✗External Contributor | ✗Pulse user |
The Export feature in Silverfin allows you to quickly create standardised management reports in PDF with just a few clicks. This guide will show you how to generate an export bundle in your client's file.
Steps to Generate an Export Bundle
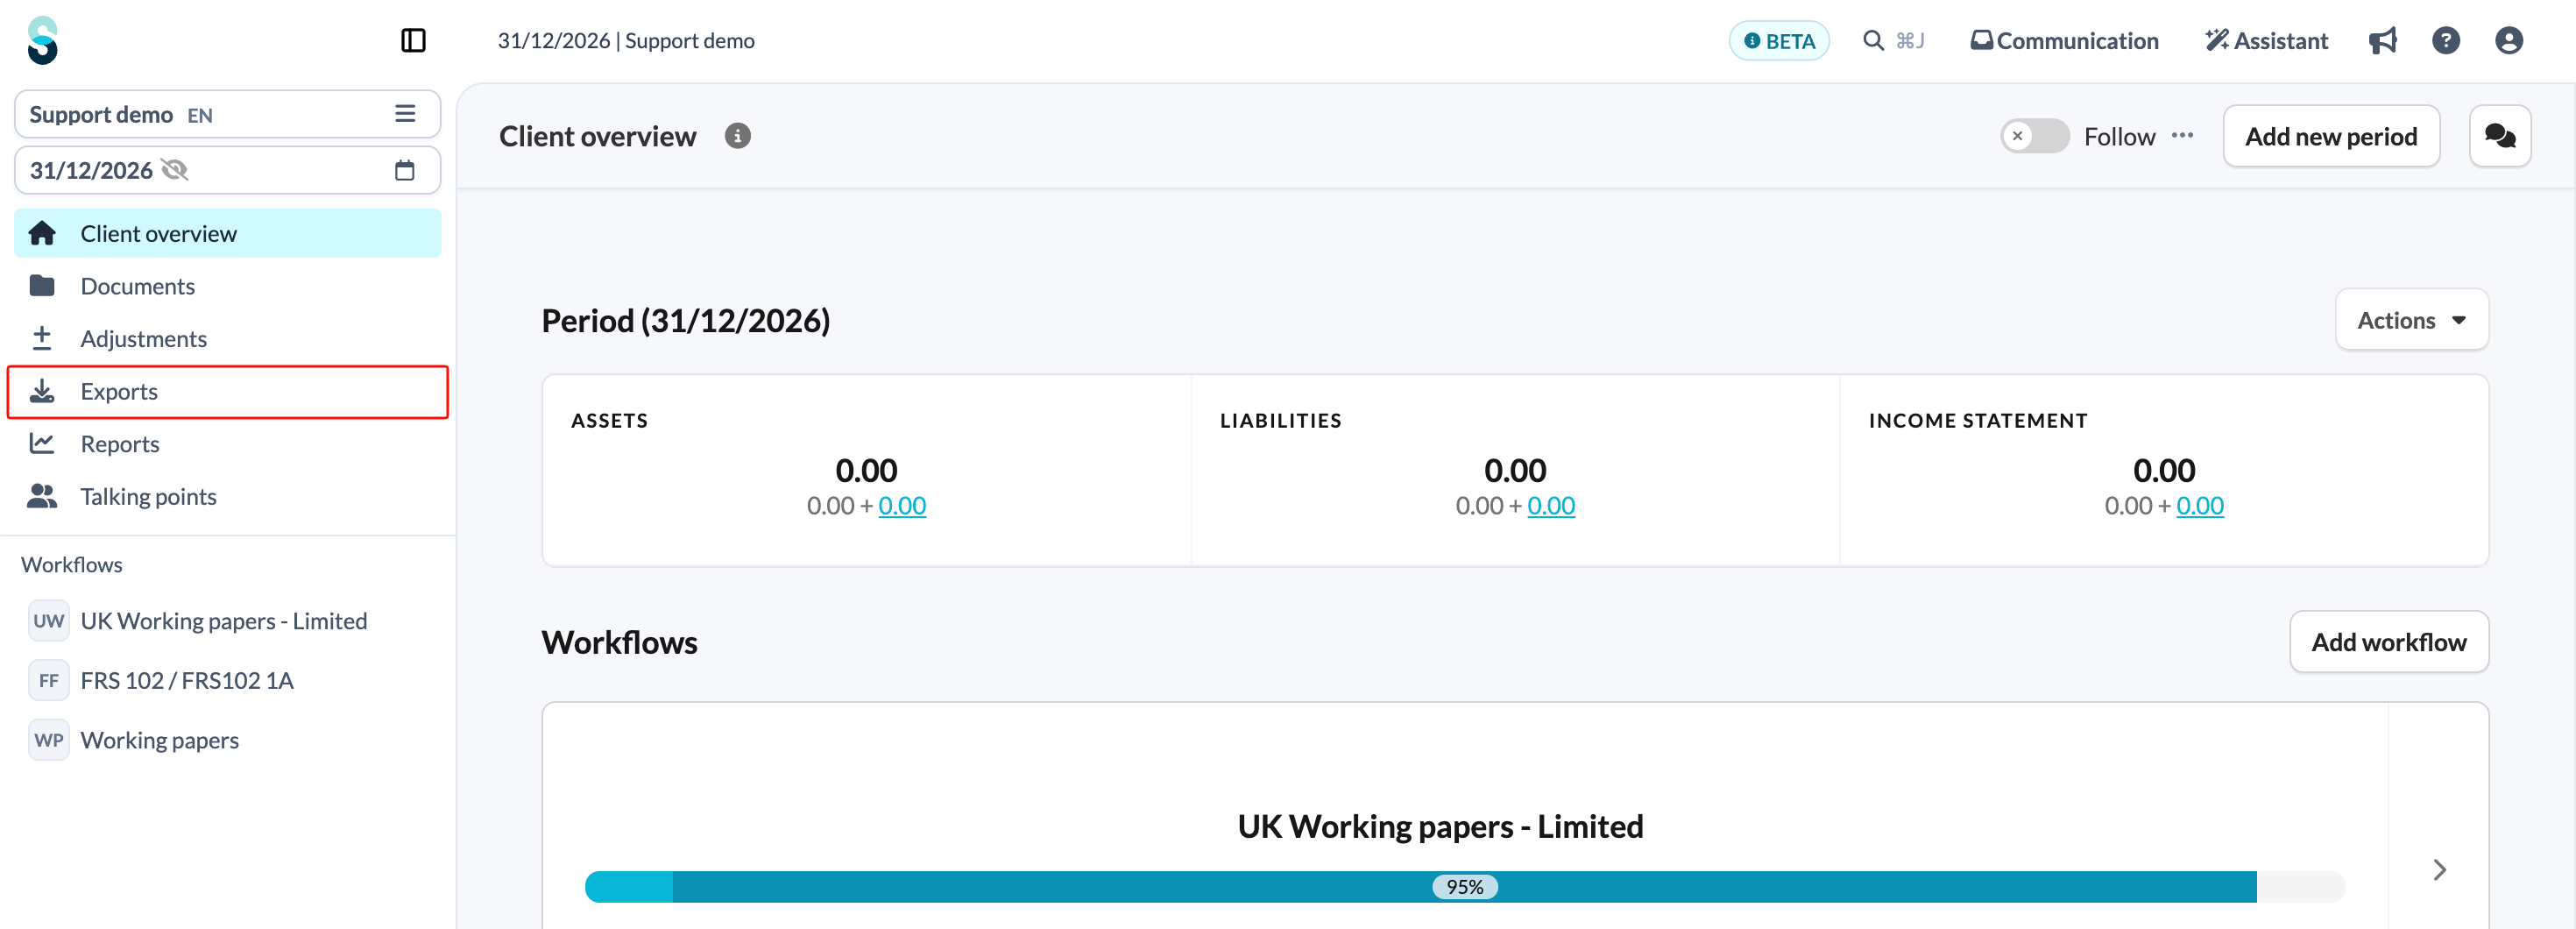
- From the left navigation panel, select Exports. This will take you to the export section.
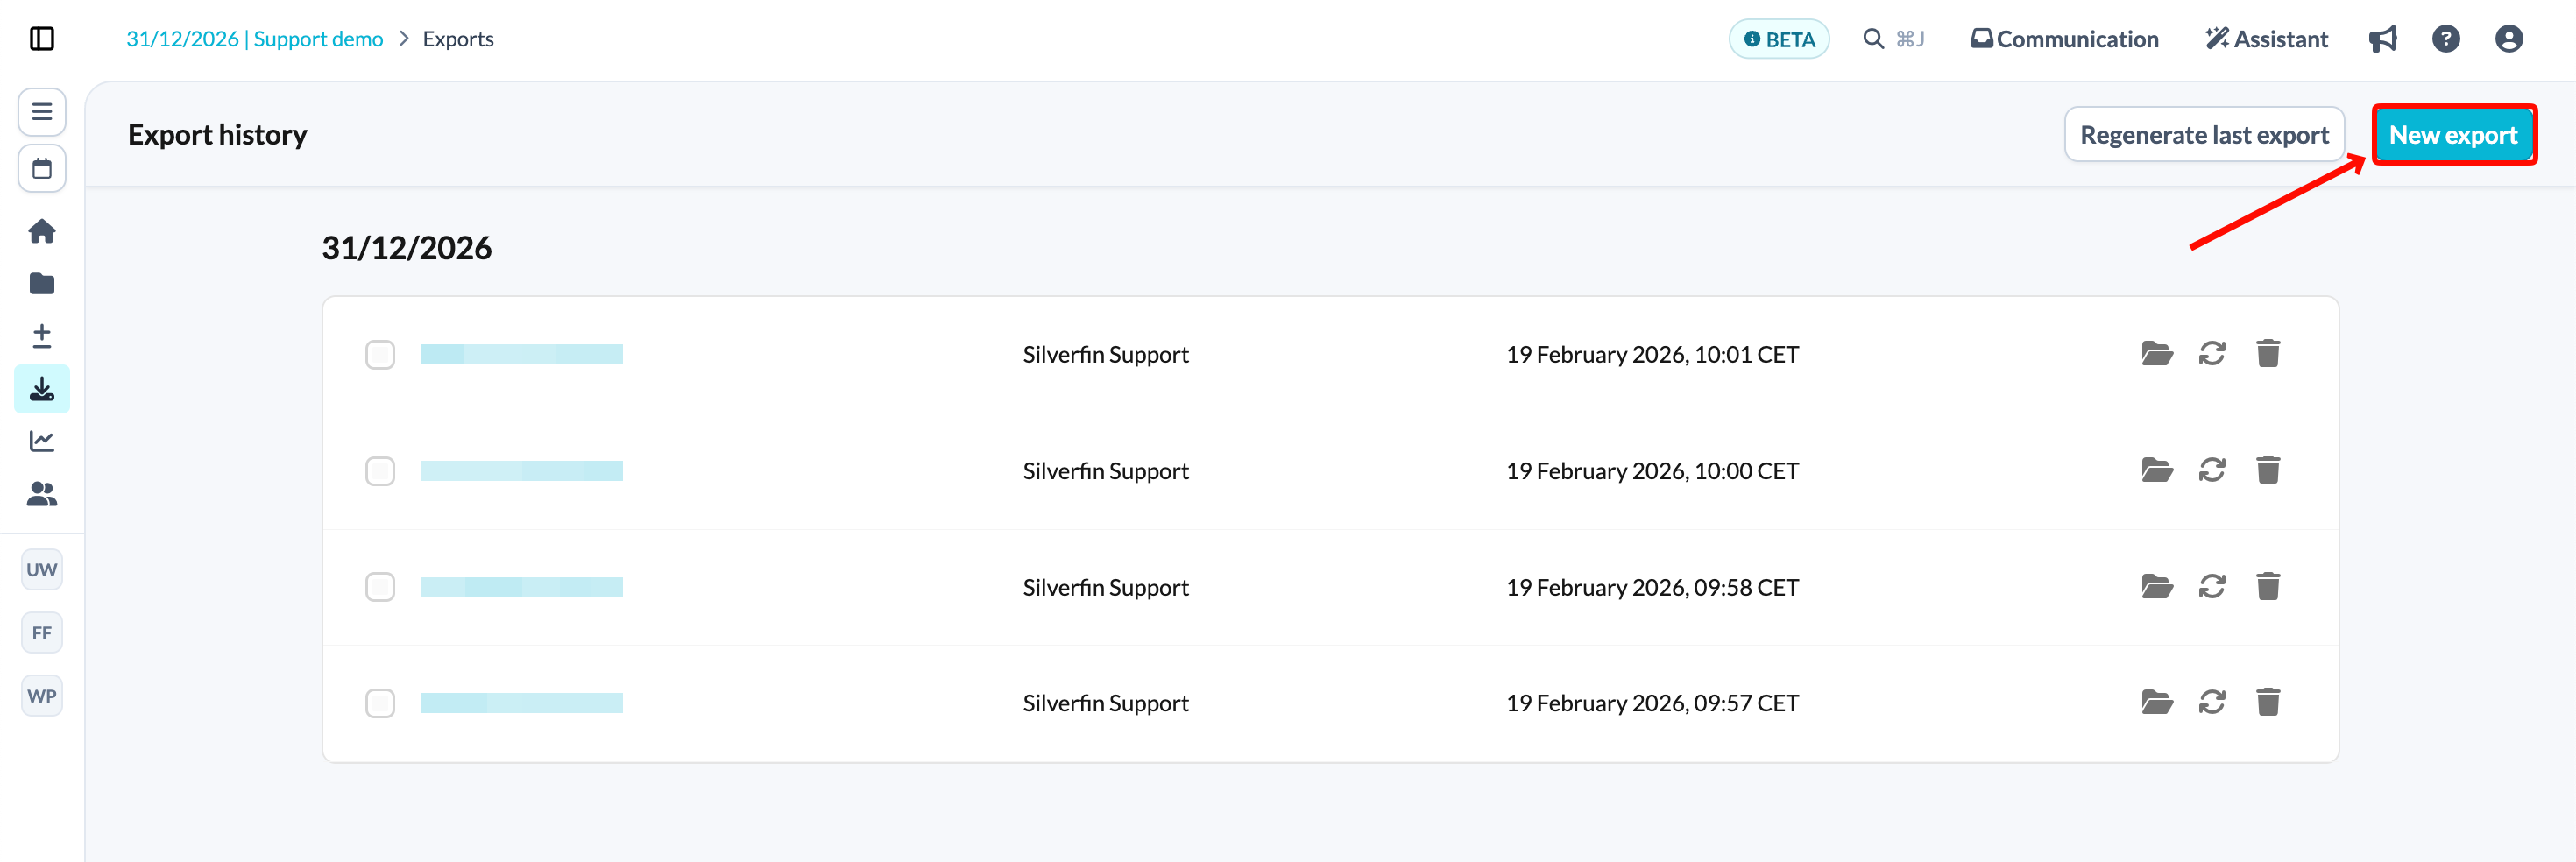
- Click the New Export button.
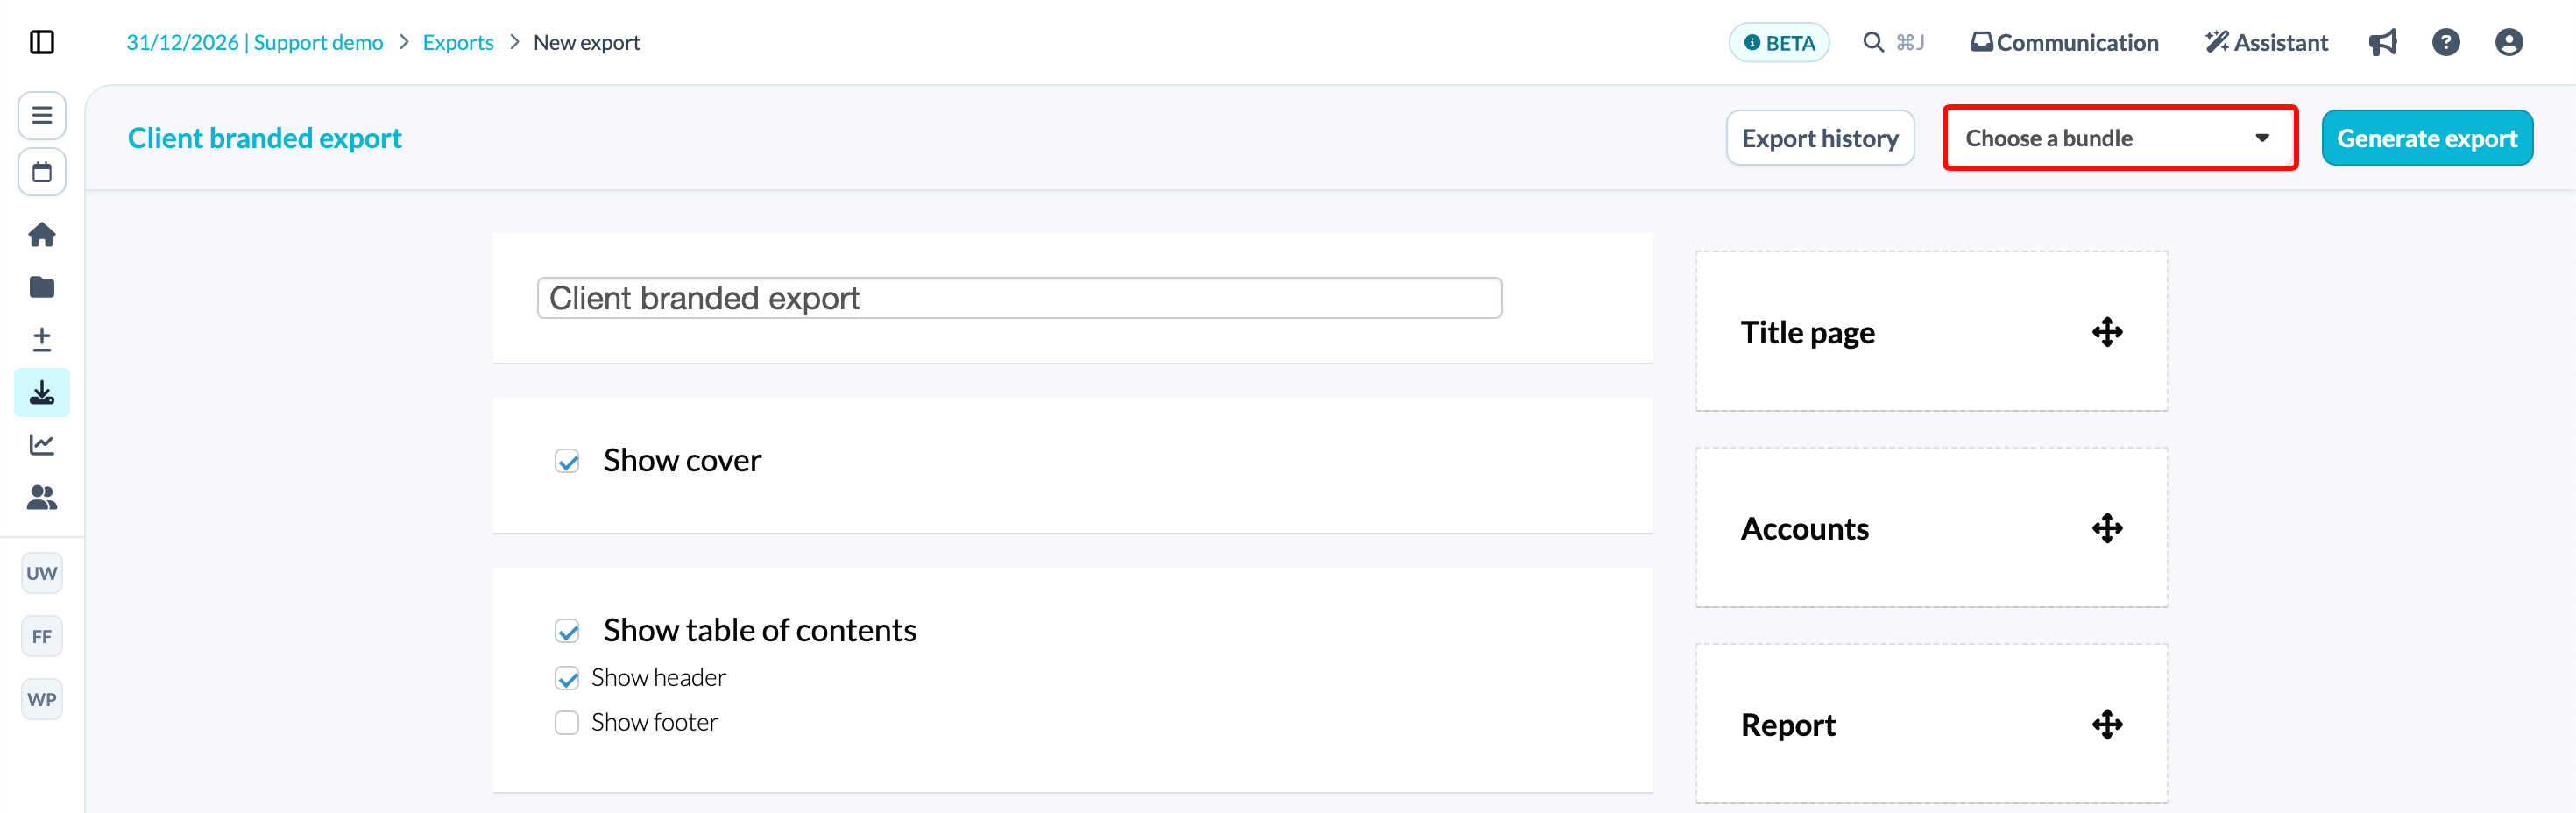
- Choose a pre-set export bundle from the drop-down menu. These bundles are created by your Admin user.
- Click the Generate Export button to create the export pack.
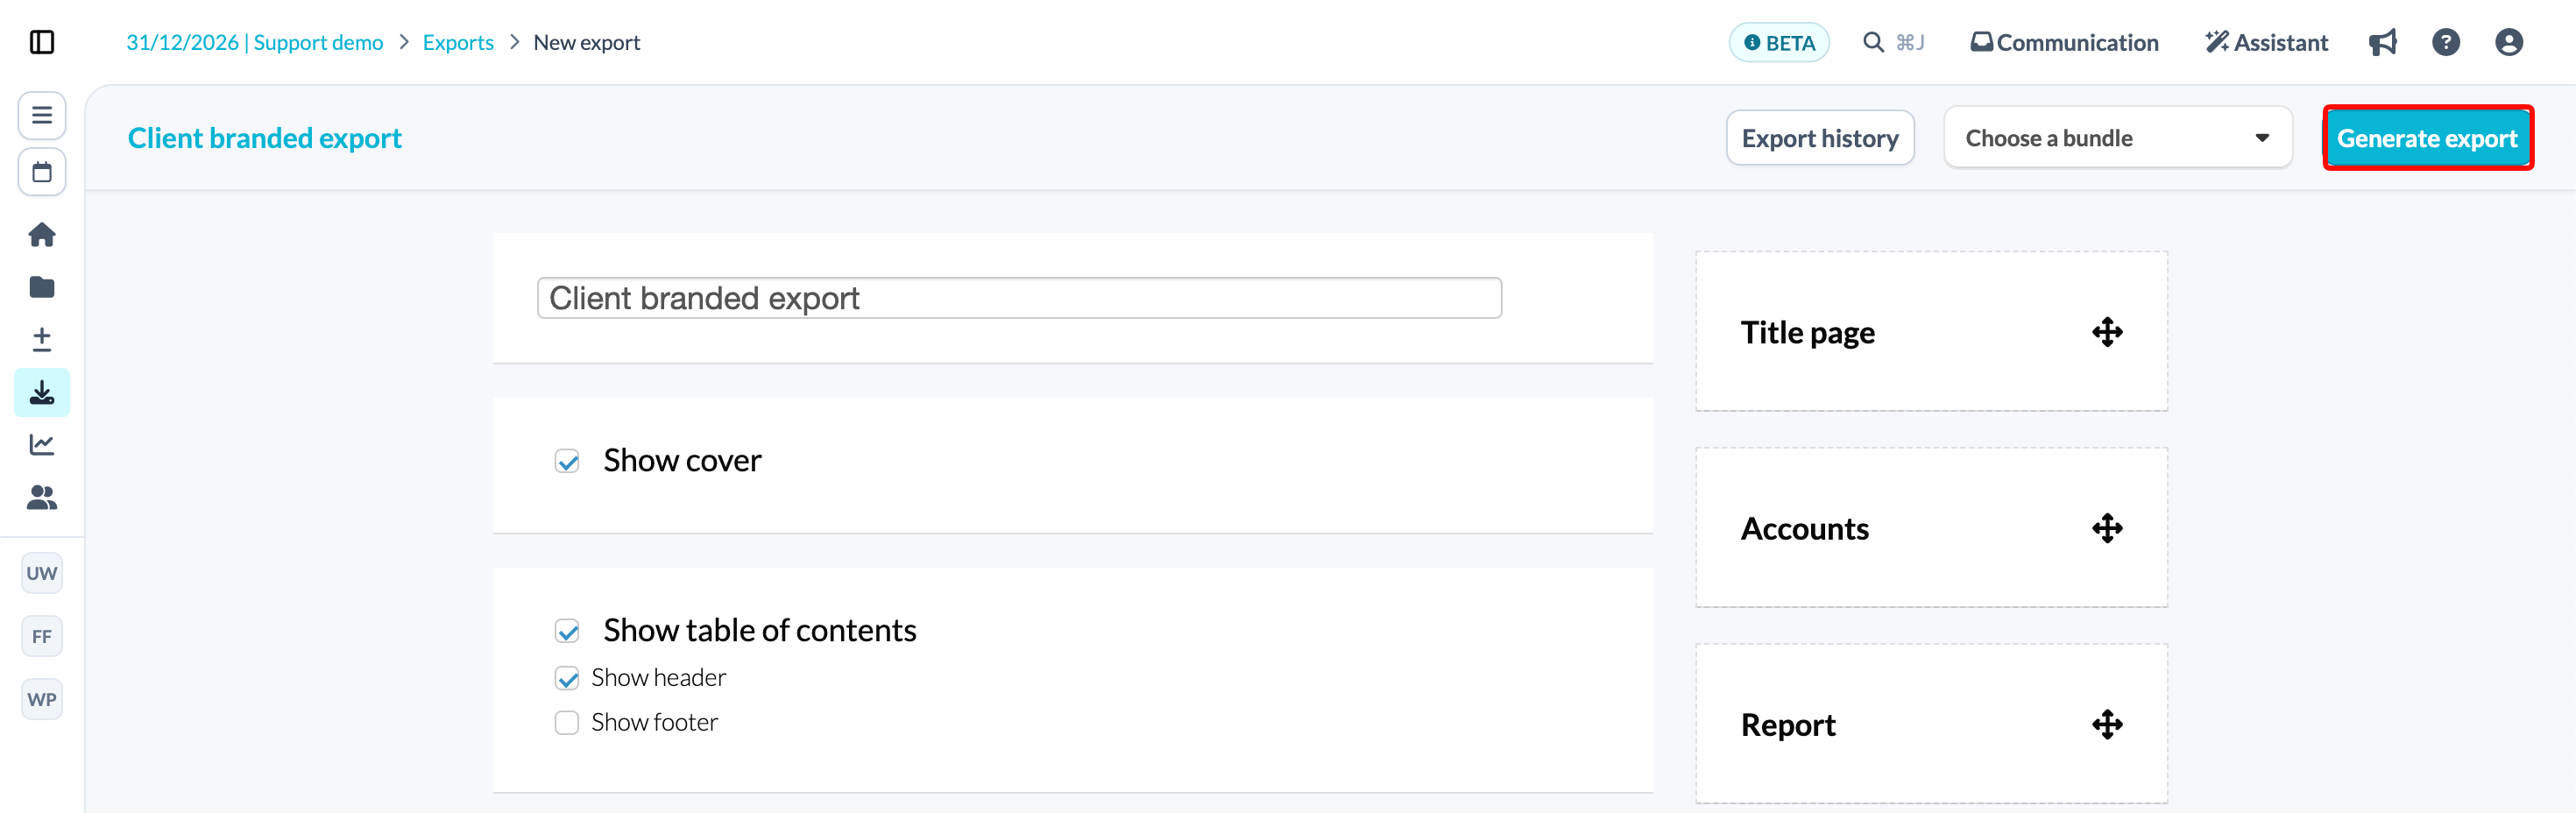
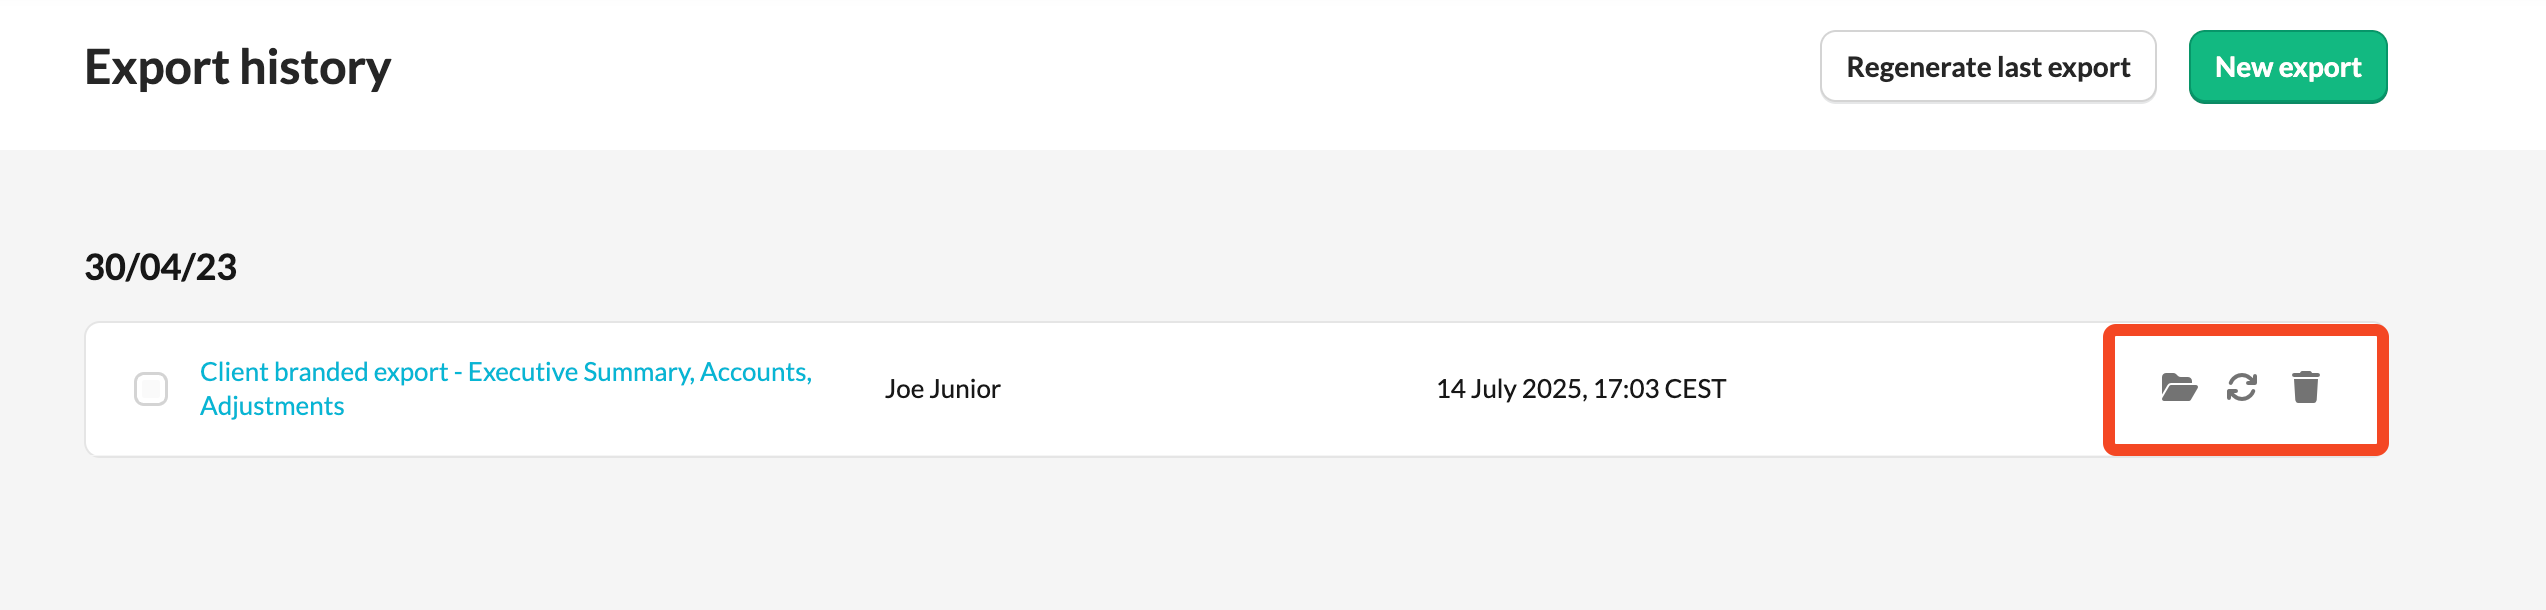
- Once the export pack is ready, you'll be taken to the Export History page. Click on the generated document title to open it.
In addition to viewing the report, you can also:
- Copy the report to the Documents section.
- Regenerate the report.
- Delete old exports that are no longer needed.
If a template or account you want isn't available for selection, check that it's starred in the workflow. Only starred items are selectable.
Export file names
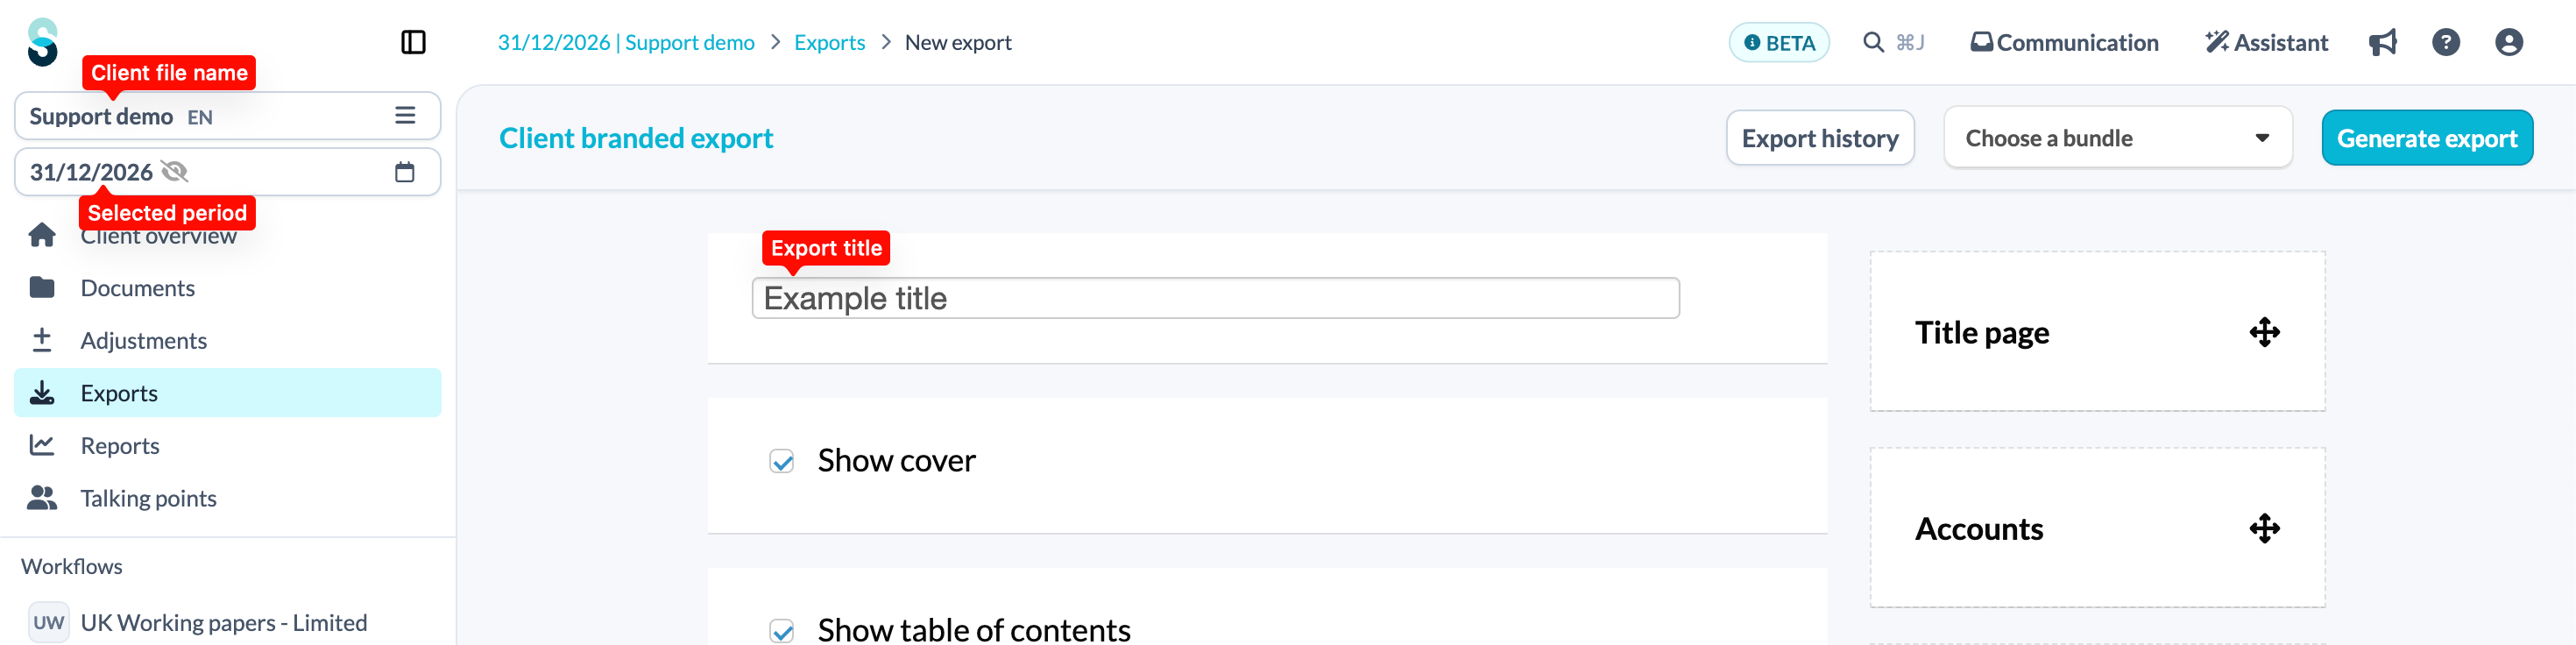
Your downloaded files are automatically named in a consistent format so you can find what you need at a glance: Client Name_Selected Period_Export Title_Date and Time
For instance, exporting the 'Example title' for 'Support demo' for the December 2026 period will give you the file name: Support_Demo_12_2026_Example title_20260828_1025