
| User Roles |  Admin |  Staff contributor | ✗ External contributor | ✗ Pulse user |
This article explains how to connect a client file in Silverfin to Yuki to synchronise bookkeeping data. Once the connection is established, any changes made in Yuki will sync with Silverfin.
Before you can link a client file, the Yuki sync must already be set up at firm level. See How to set up synchronisation with Yuki at firm level?
To link an existing synchronisation to a client file, follow these steps:
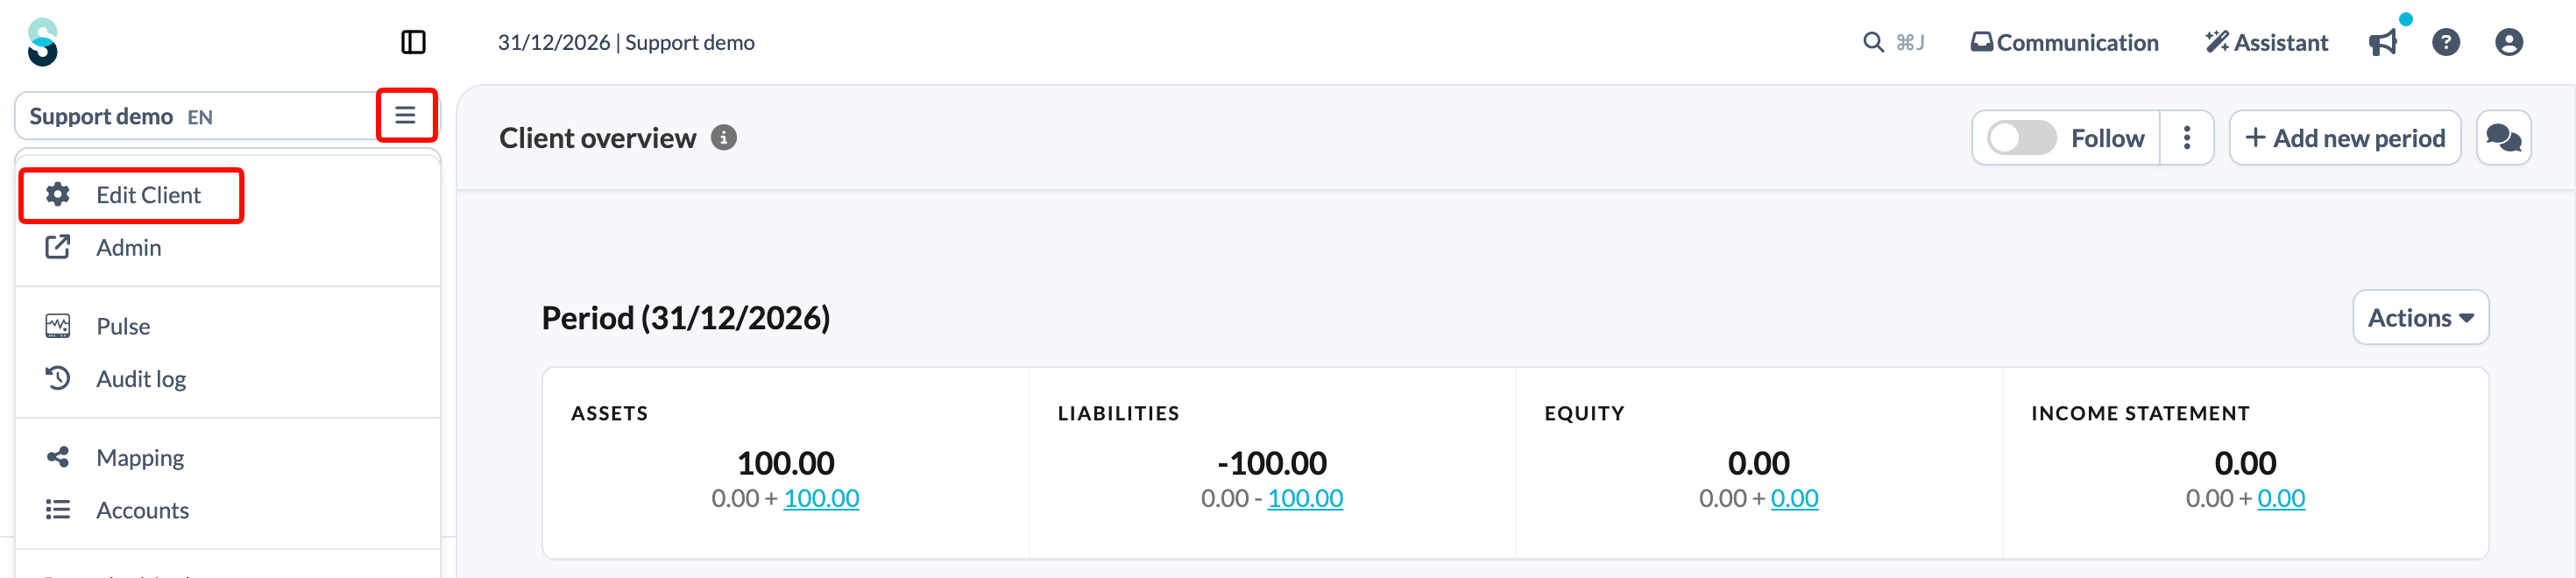
- On the client file overview page, click the client file name at the top of the left panel and choose Edit Client.
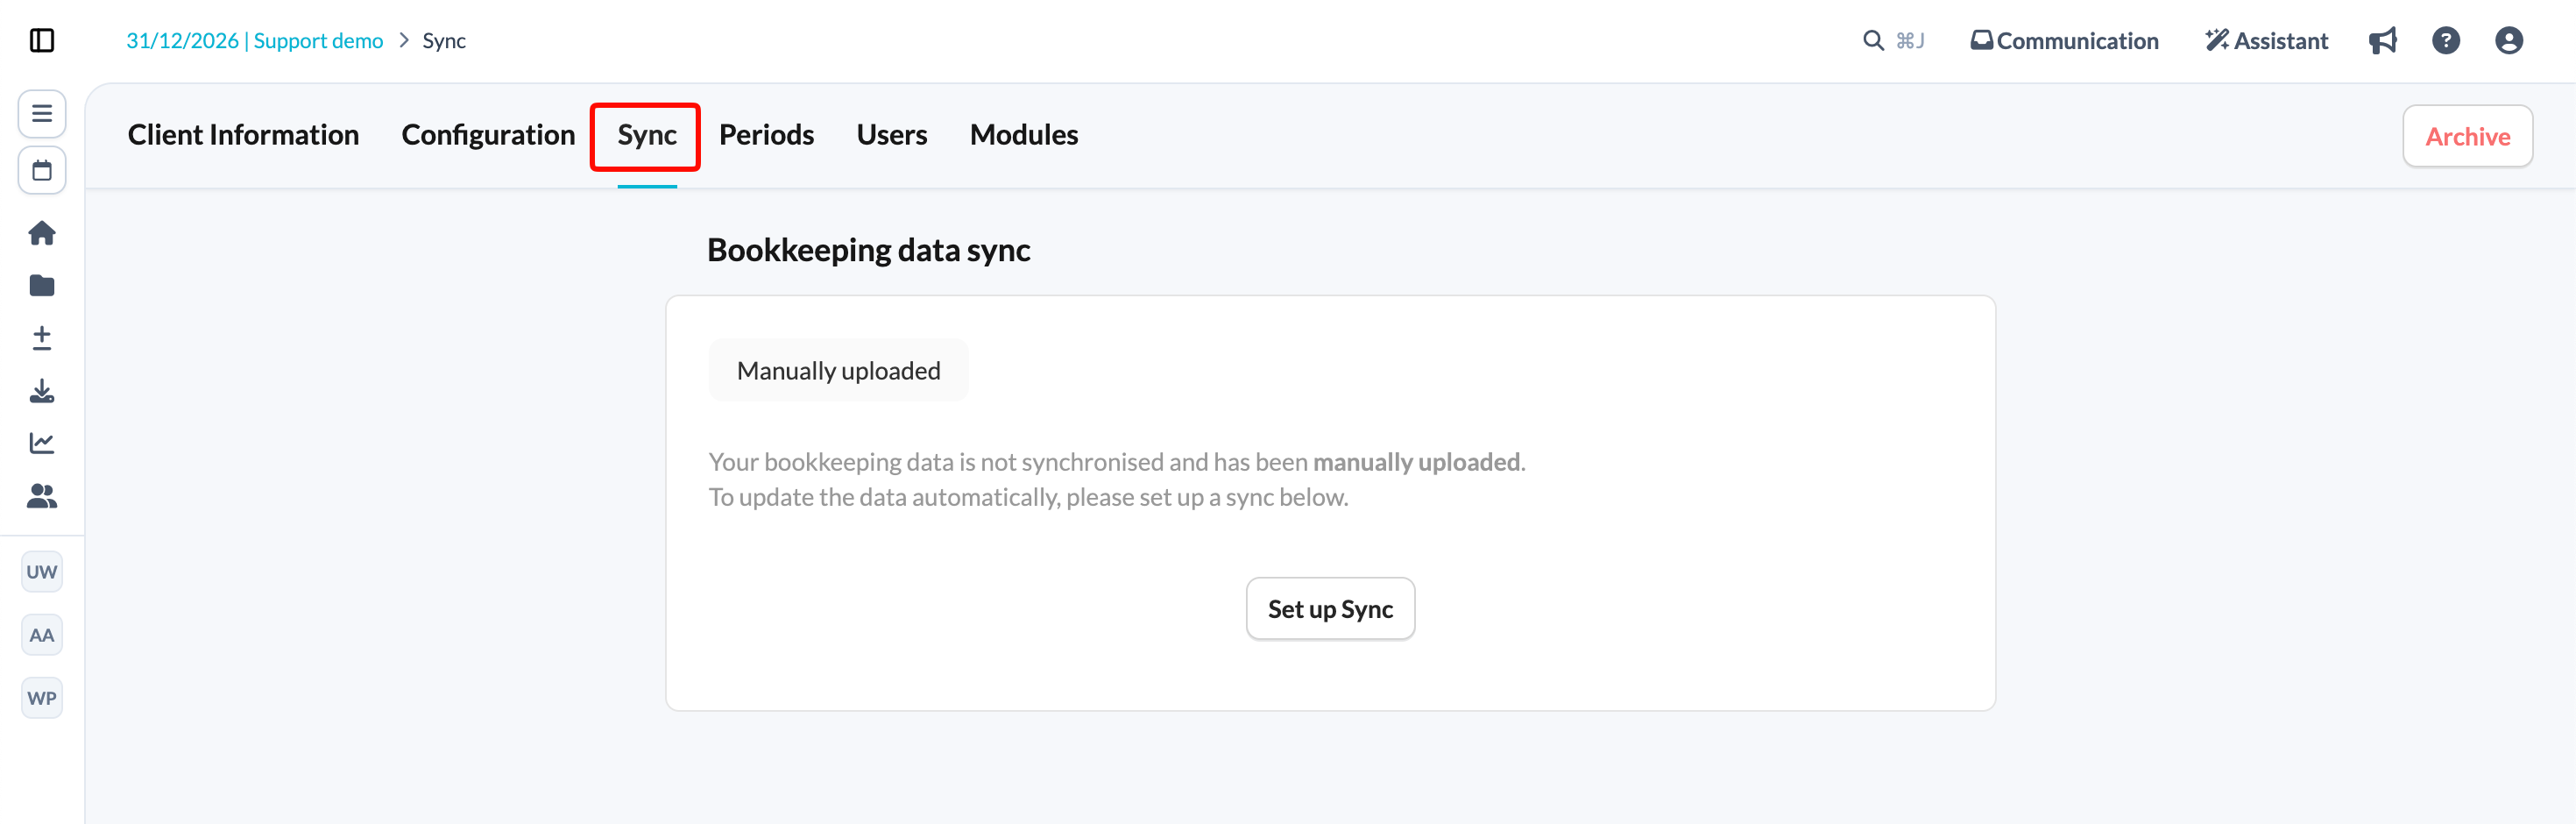
- Click the Sync tab.
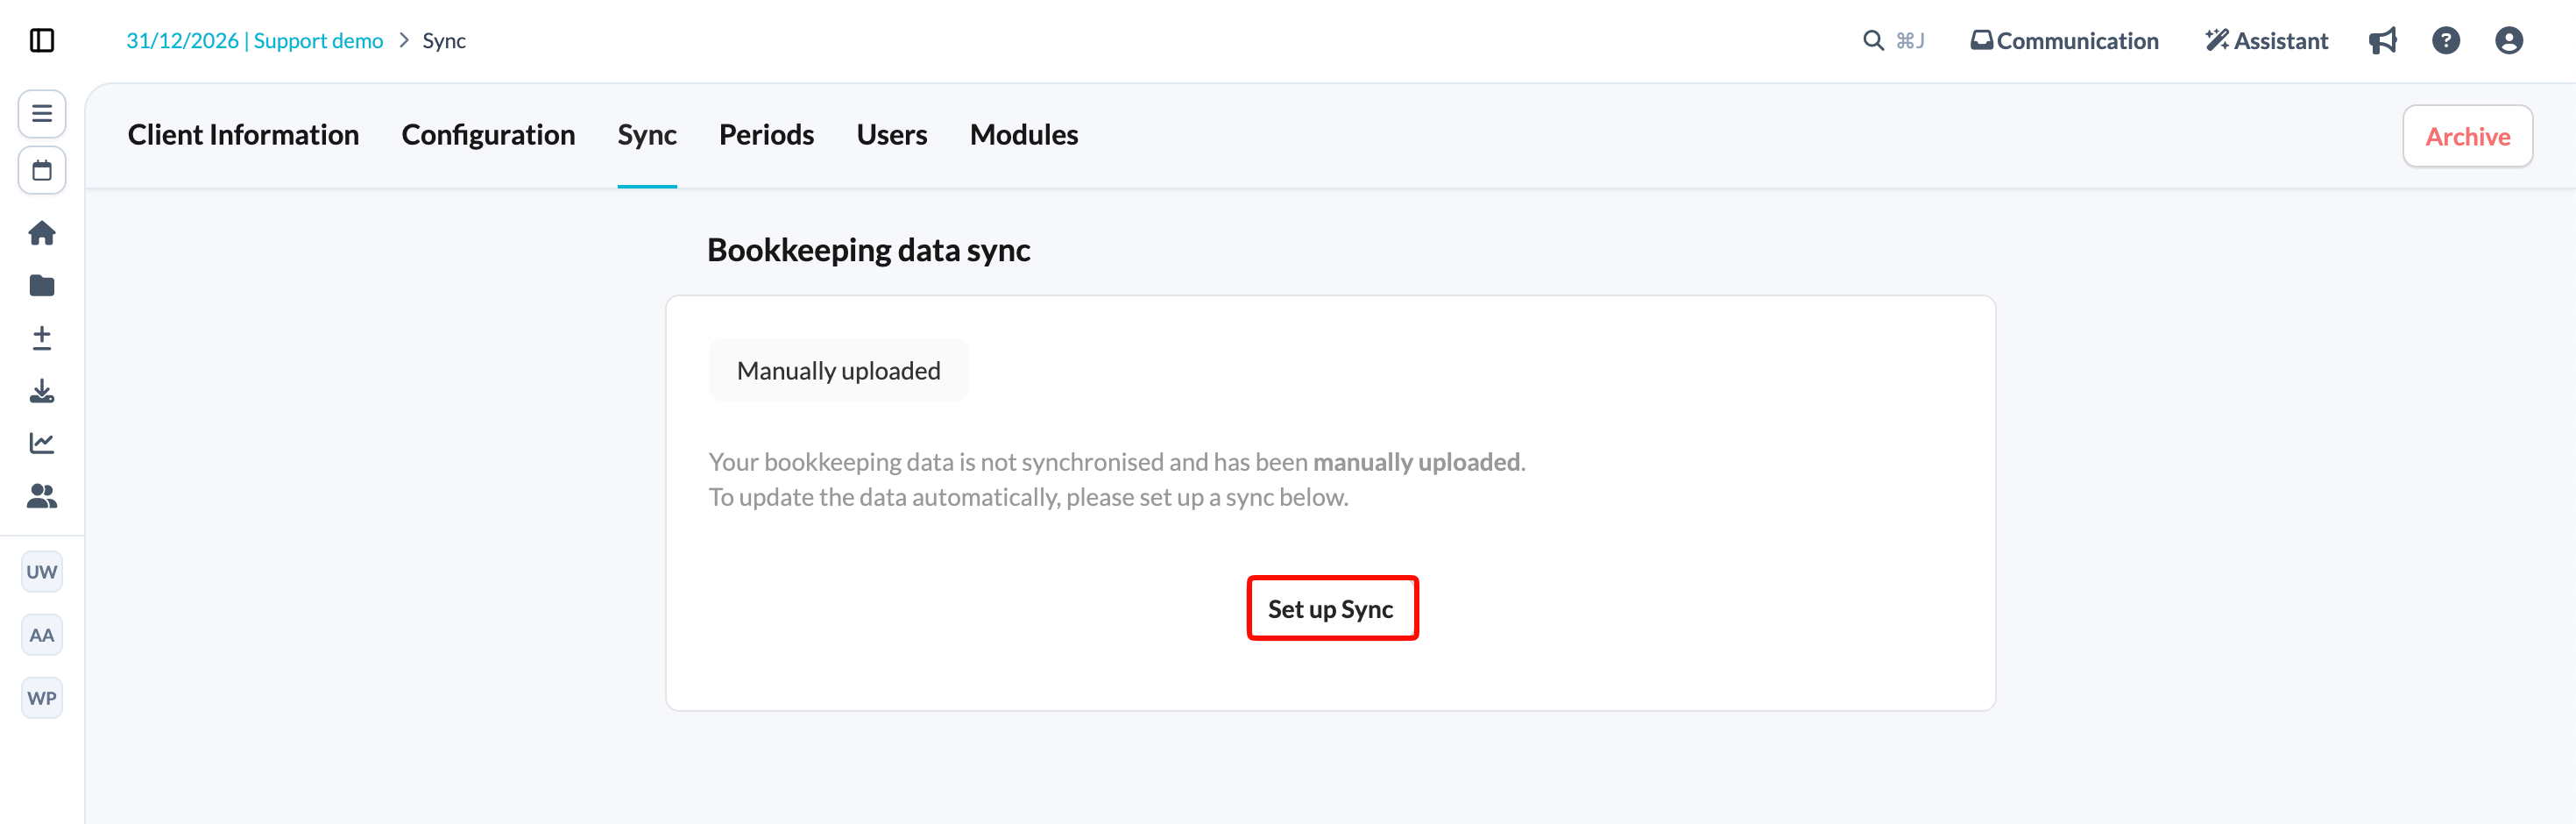
- Click Set up Sync.
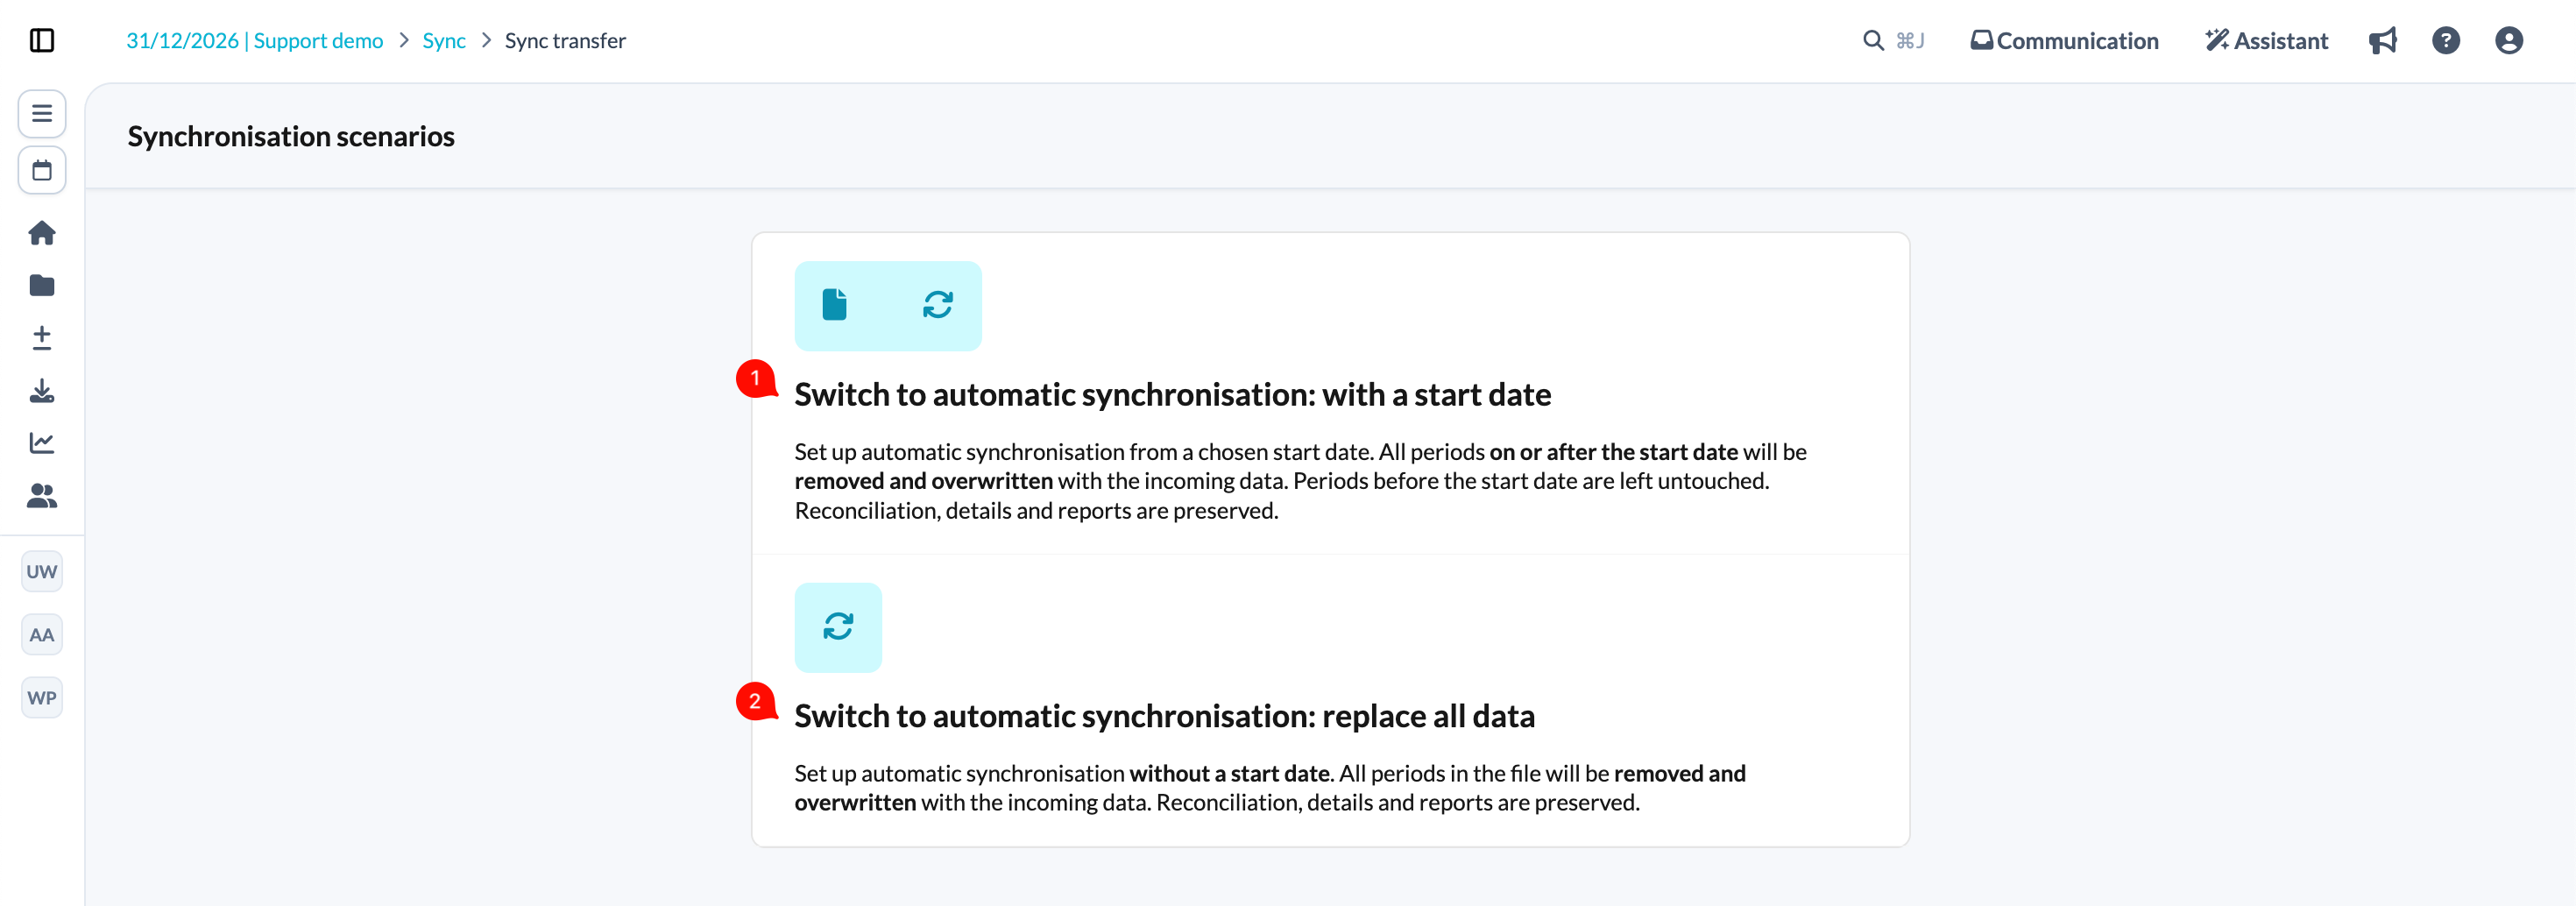
- Choose one of the provided synchronisation scenarios. If you have chosen the first synchronisation scenario, you will be prompted to set the start date of the synchronisation.
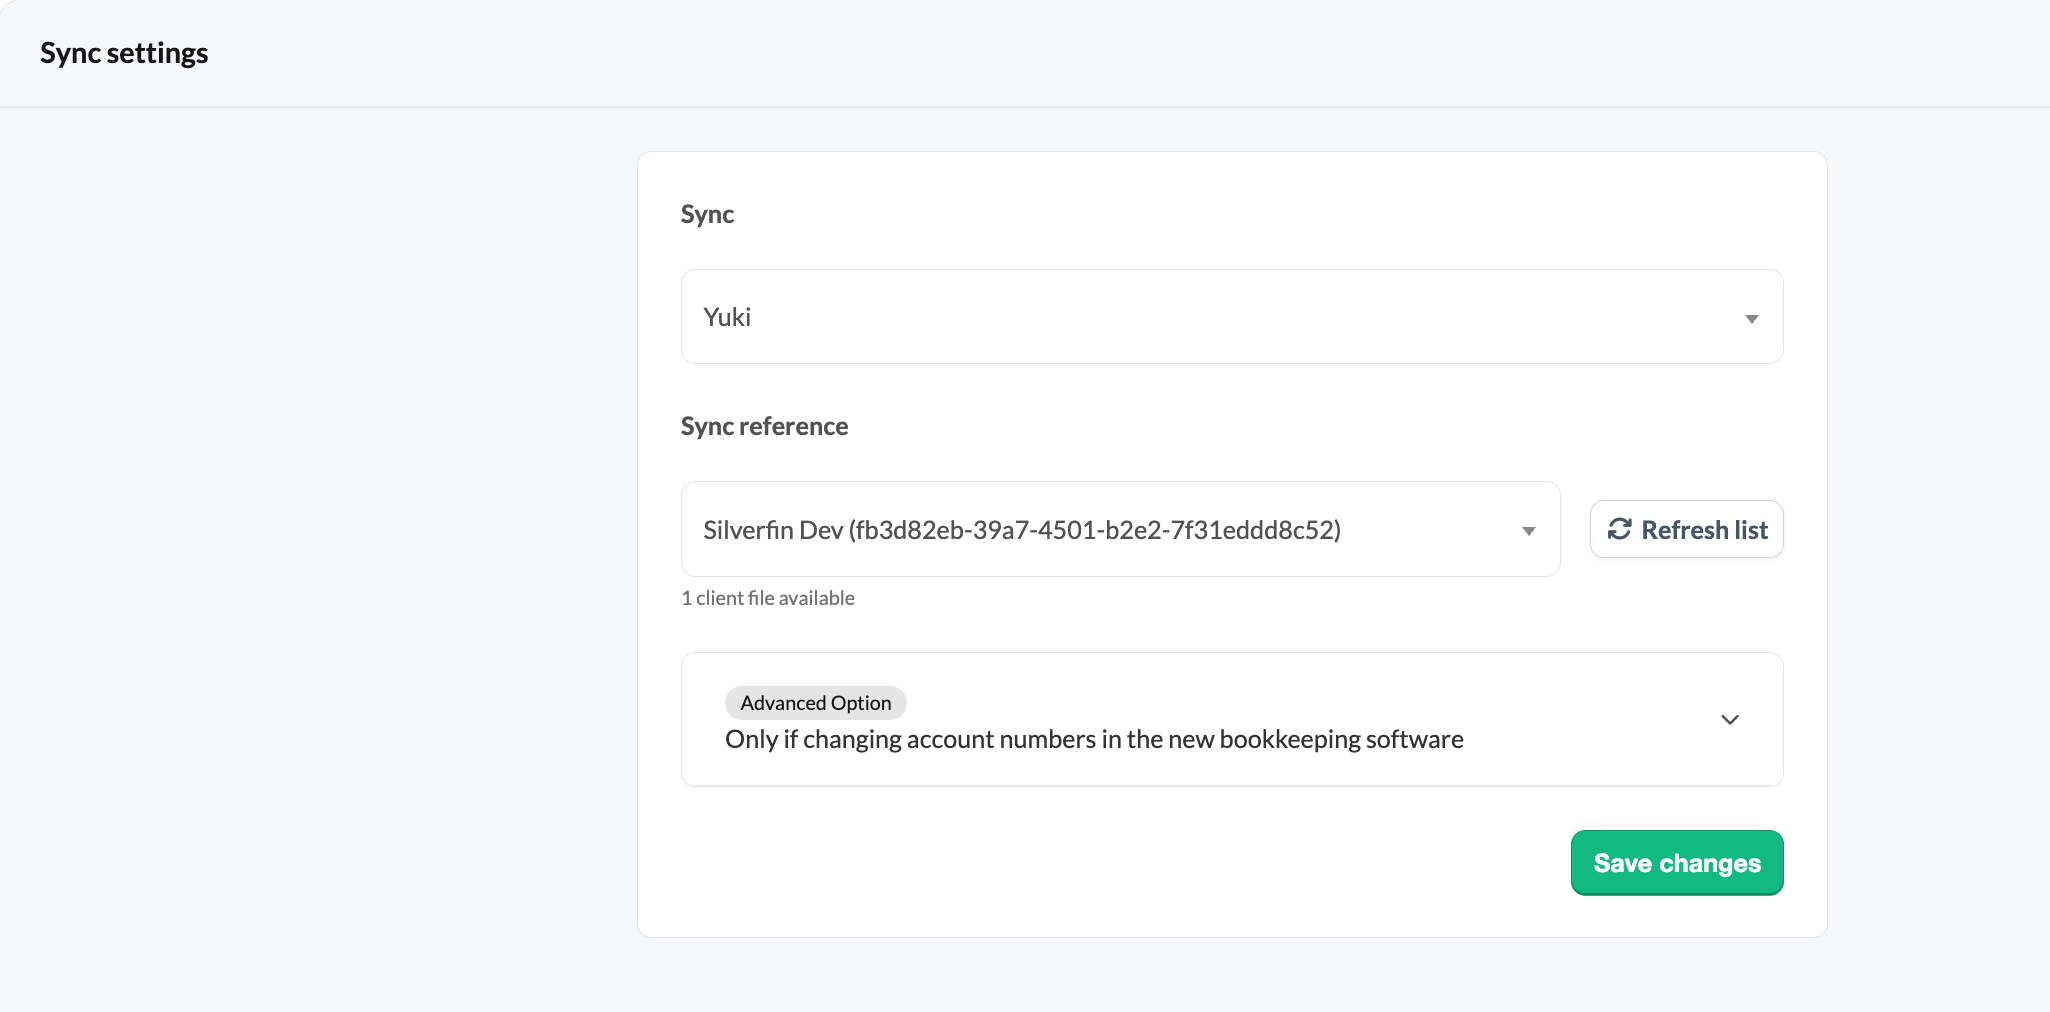
- Choose Yuki from the list of available synchronisations and select a sync reference.
Good to know
- Figures in Silverfin are updated automatically every night with the latest data from Yuki. To retrieve updated figures during the day, use the synchronisation arrows on the top right.
- Yuki provides 1000 free API calls for each domain/file as standard. We recommend setting up synchronisation early. The first sync tries to download all available documents, which can quickly reach the limit.
- If you have already posted results in Yuki but still see an amount on the Income Statement in Silverfin:
- Go to the Trial Balance page in Yuki. This refreshes the data shared via the API.
- Then return to Silverfin and click the sync arrows to update.
- You can find more information about the connection between the two platforms in the Yuki article Yuki and Silverfin. Please note that this article is only available in Dutch and French.